Build Log of the Tamiya SU-100
Russian Tank Destroyer
TAM49570 in 1/25 scale
By Richard Geraci
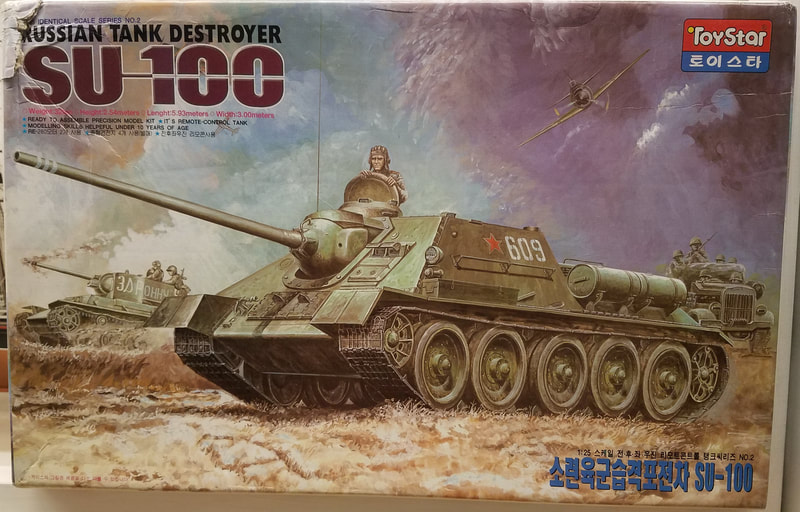
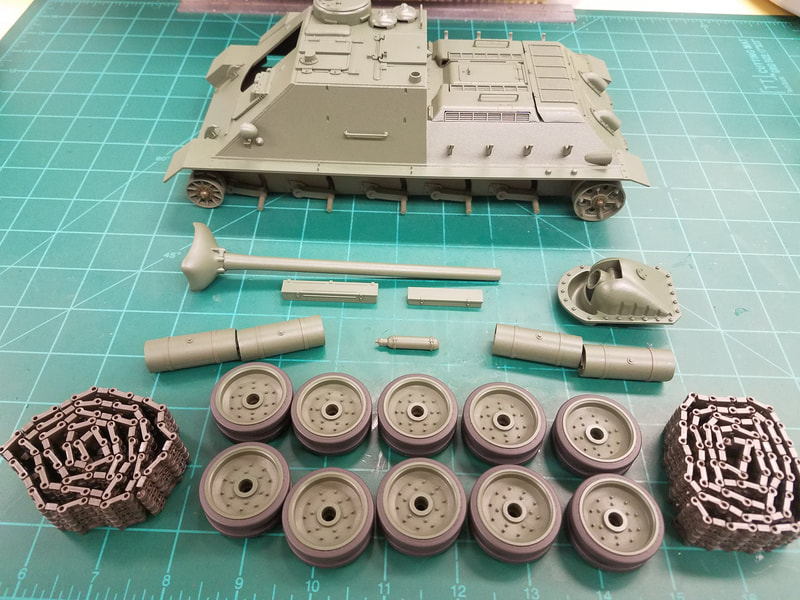
This is a very old (1969!) kit from Tamiya of the Russian SU-100 tank in 1/25 scale. At that time 1/25 was a popular scale because it matched their car kits (1/25 and 1/24). It can still be found as a re-issued kit from 1993 if you search a bit. Cost is about $65. It consists of 306 total pieces and is molded in olive green plastic. Of those pieces, 132 are individual track links molded in silver vinyl which snap together and are movable. Here's what is in the box. [p1-p7]. There is a sister version marketed under the ToyStar brand with the same kit pieces but it is motorized! They are quite rare but I have one in the stash [p8].
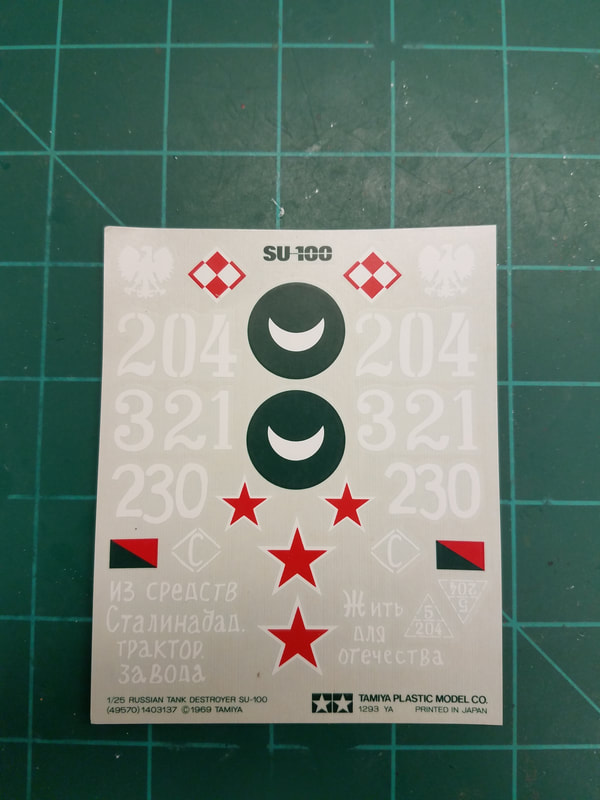
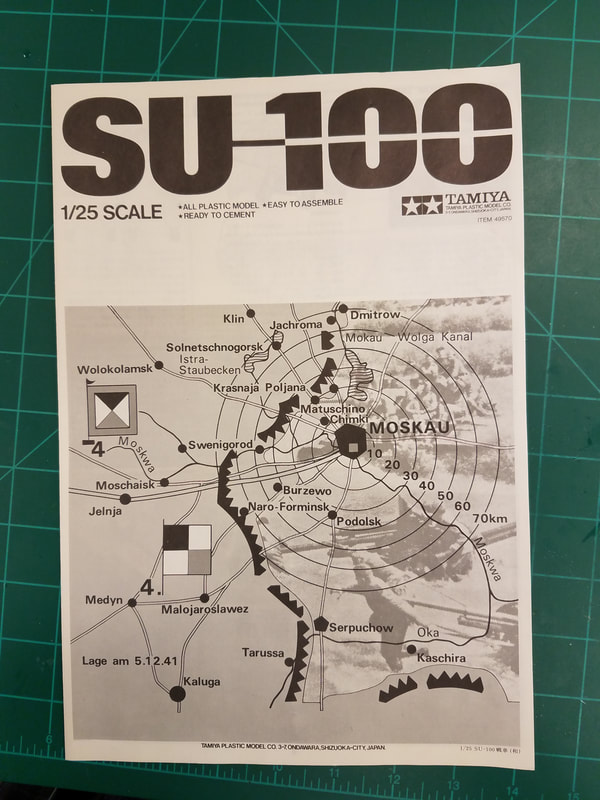
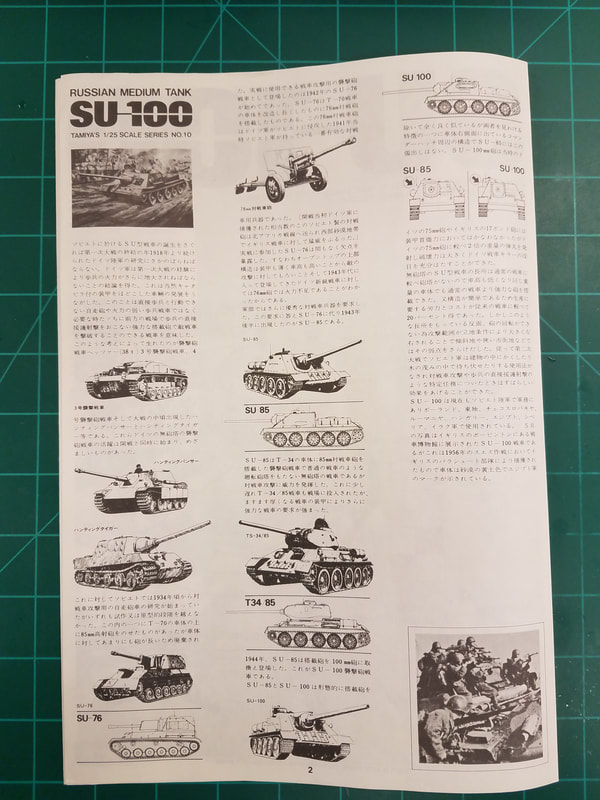
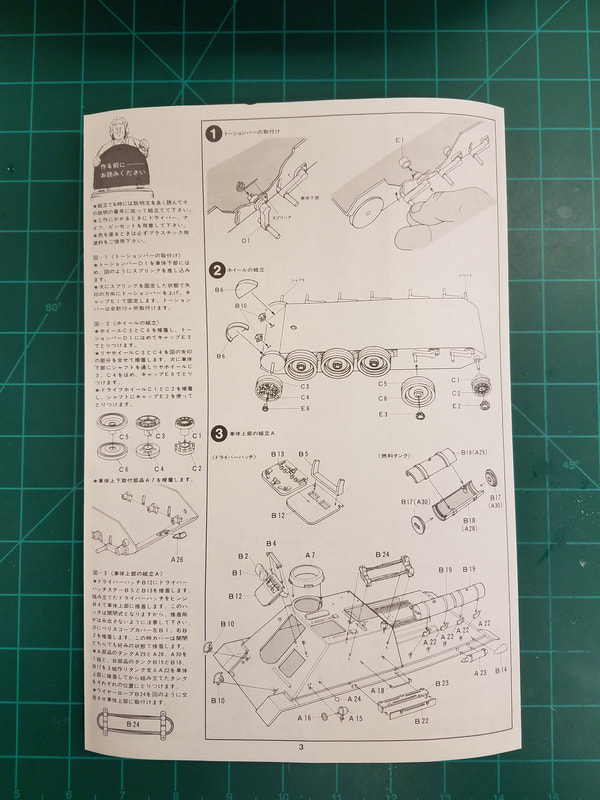
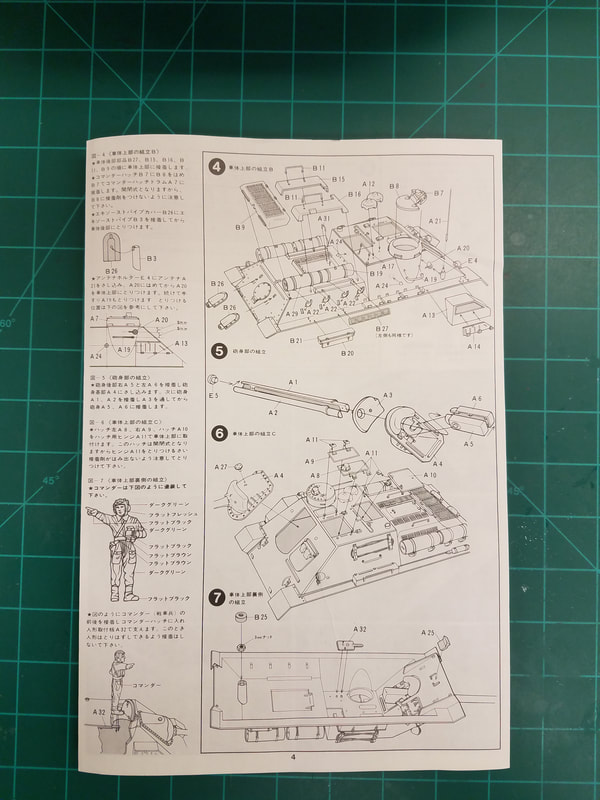
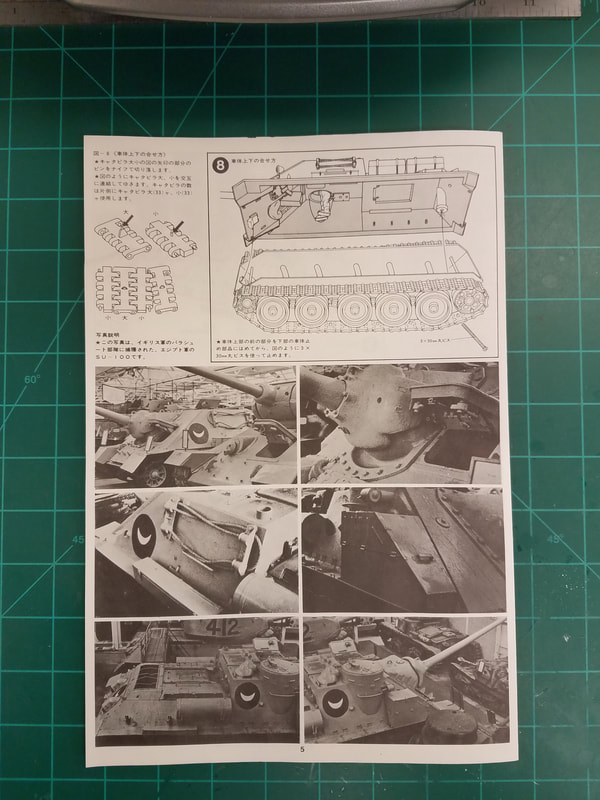
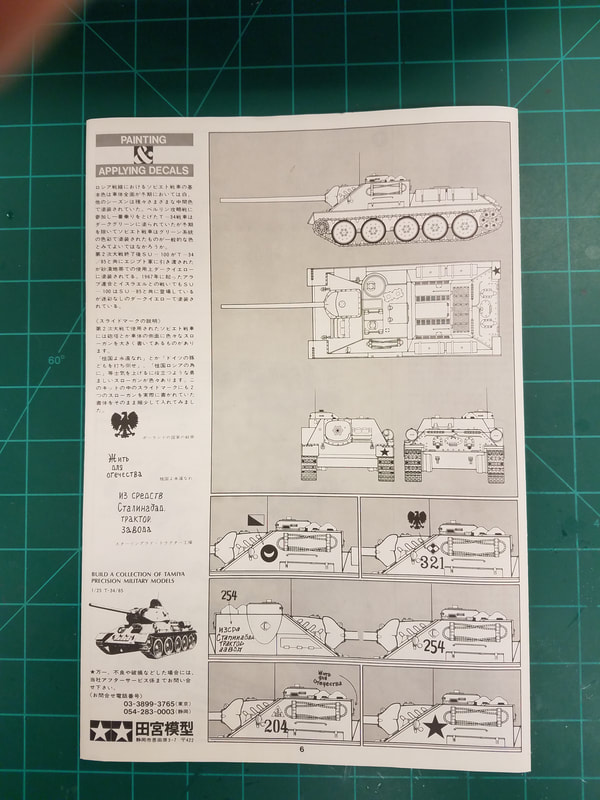
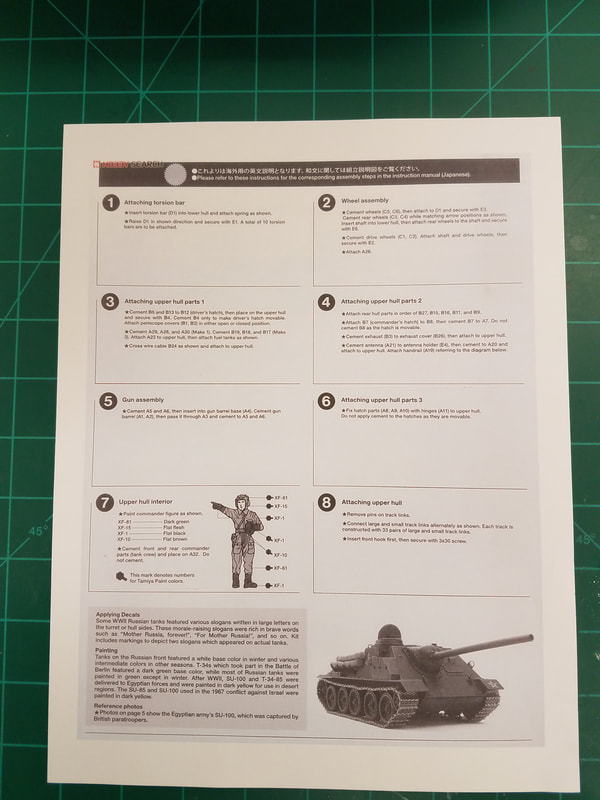
The instructions [p9-p14] are in Japanese but I found a 1-page English translation [p15]. As you can imagine, some of the small detail is soft by today's standards, especially the figure. He's gonna need a LOT of filler and shaping. Overall though, there is nice texturing on the hull and flash is minimal. The decals are in excellent shape, flat and not yellowed. We'll see how they do later on.
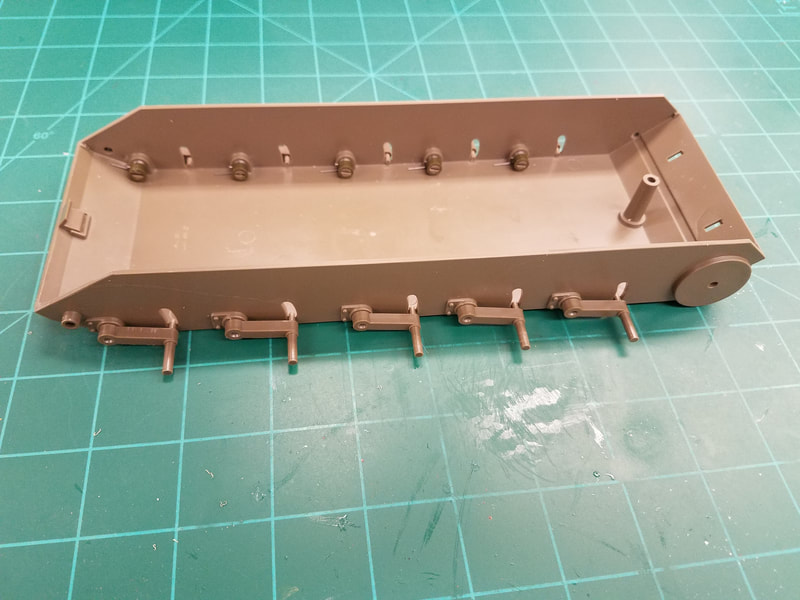
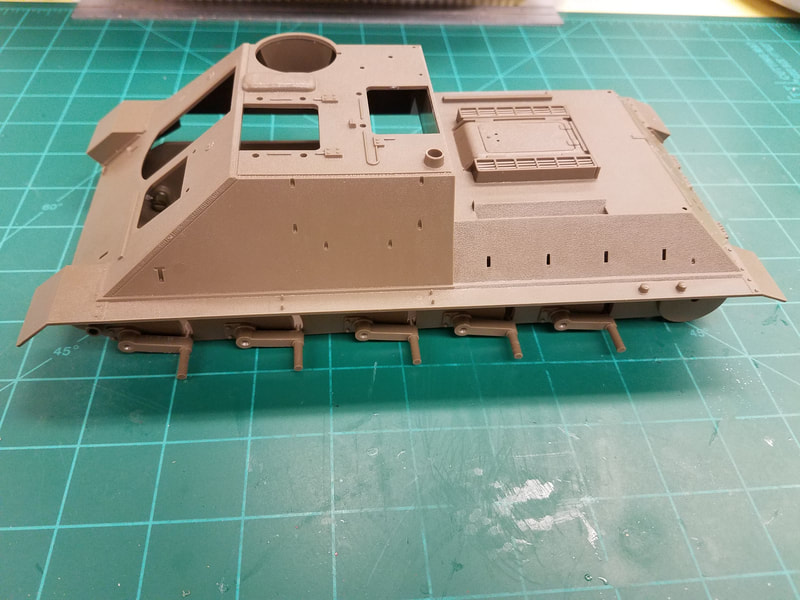
Step 1 The torsion bar suspension is spring loaded and goes together well [p16]. The split shaft is a tight fit into the hull so I used my broaching tool to enlarge the hole just slightly to allow the spring movement to work smoothly. I suggest you partially install the retainer sleeve E1 before you seat the pin into the curved hull slot to keep the spring from flying into another dimension. After seating you should push the spring and retainer down as far as possible on the split shaft. Since there is no interior I will skip ahead and attach the upper hull to the lower hull. This is done with two 'latches' at the front and a screw at the back. Obviously, this is for the ToyStar motorized version but since I won't need to access the inside again, I'll glue the front and rear glacis as well as filling the gap between them [p17]. The tracks and wheels are movable and can be installed later on with the polycaps. Note that if you want to pose comrade Kommander in the hatch you'll need to install part A32 before closing the hull. He is supported by a long rod thru his crotch (insert your own joke here).
Step 2 I began by cleaning up the road wheels, drive wheels, and idlers. They all consist of two parts and the road wheels have a nasty mold seam right down the middle of the tread. To add to the difficulty, the plastic is very hard and brittle. Whether this is due to age or the type of plastic used back then I don't know. My guess is the type of plastic. I recommend starting with a new #11 blade. The actual road wheels had rubber tires so I'll not assemble these until after they are painted.
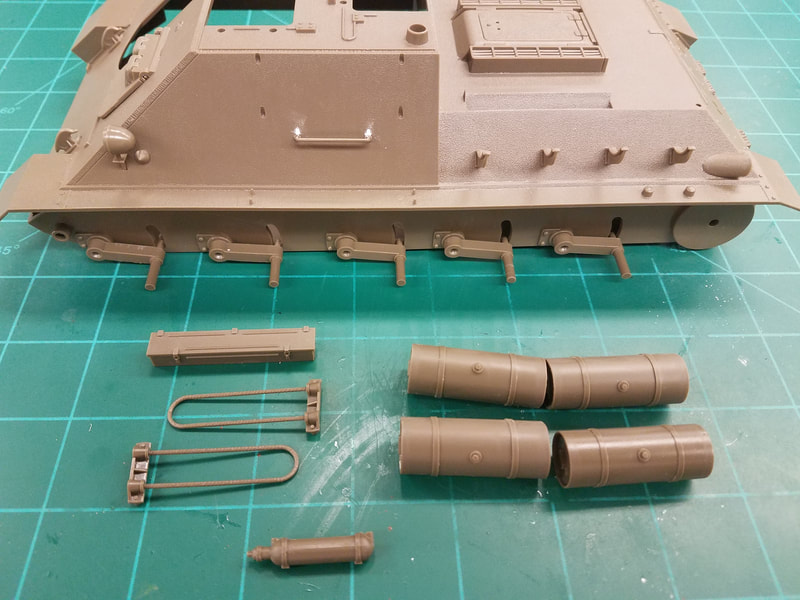
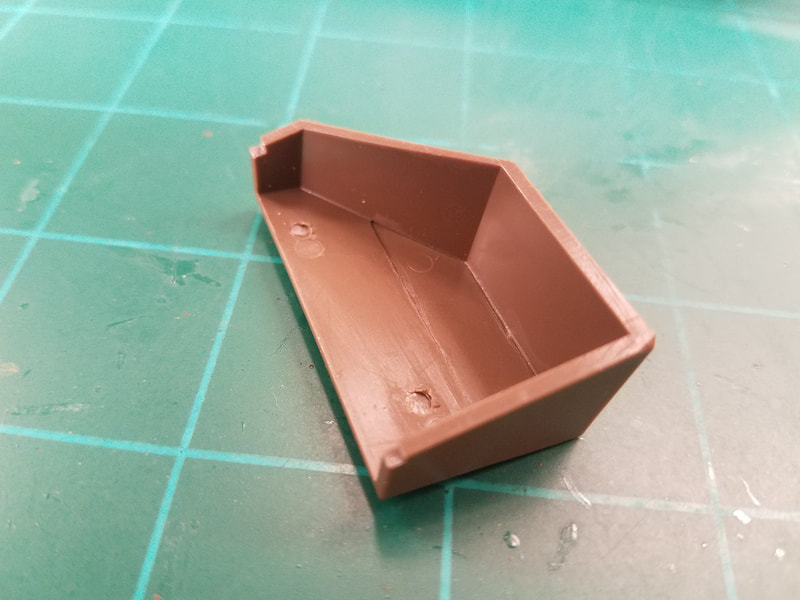
Step 3 This step adds fuel drums, a hatch cover, and some details to the left side. Again, since there is no interior I will install the hatch cover closed however it can be left movable just to show it off if you like. I have left some of the items off until after painting the hull. The fuel drum halves do not fit well and the ends are really bad. Lots of filling required here [p18].
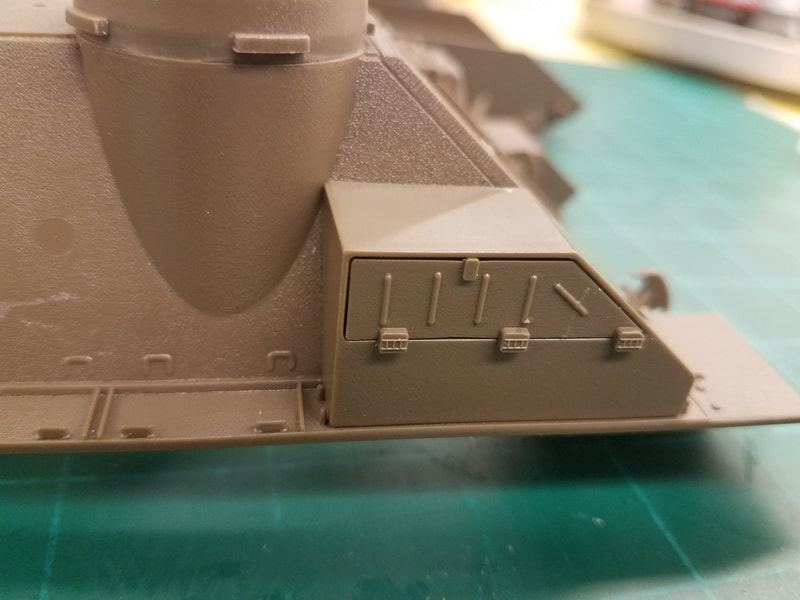
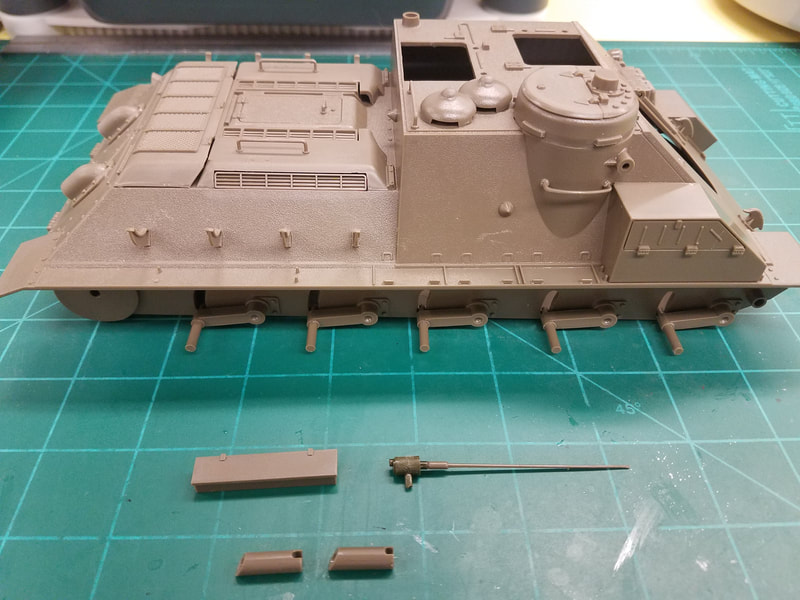
Step 4 Part A13 sits too far forward and extends past the front glasis as well as over the raised lip on the side rail. You need to cut a couple small notches in the back of the part and trim just a tiny bit off the upper back corner [p19]. This lets the part fit flush with the hull and glasis [p20]. The hatch cover B8 is movable if you only glue part B7. You'll need to do this if you intend to have comrade Kommander in the hatch. I left exhaust pipes B3 off until later as they can slip into the housings. Cover B9 sat too far to the right so I cut off the pins and centered it on the hull. I left the antenna A21 off until later so I wouldn't break it. Here is what it looks like so far [p21].
Step 5 The gun assembly is straightforward. Not much to say here except that I chose not to install the muzzle plug E-5. The barrel is textured (?) so be careful cleaning up the seam.
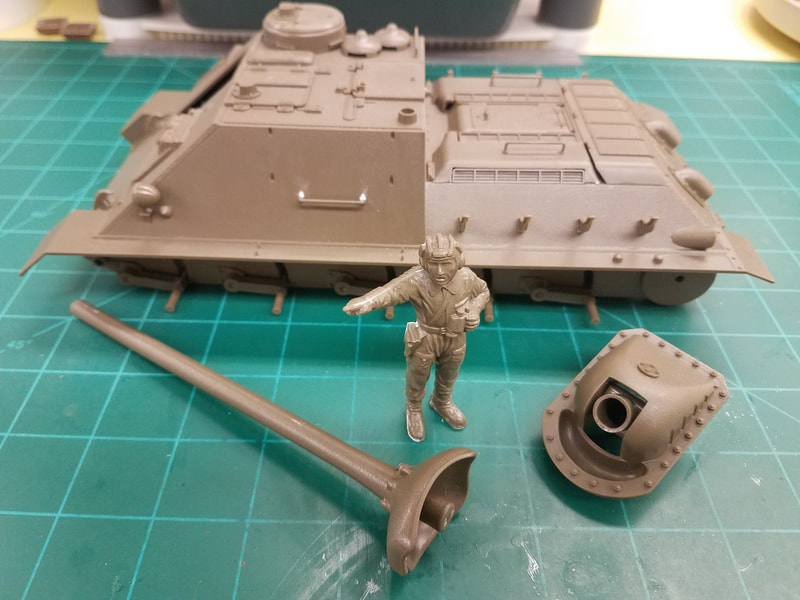
Step 6 This covers the final assembly of the hull components. I will leave the main gun off until after painting [p22]. Comrade Kommander is looking pretty rough right now.
Step 7 If you haven't already connected the upper and lower hulls, put the pieces inside the upper hull now. Time to go to the paint shop. Everything is dark green except the tow cables, exhaust pipes, and headlight lens. Remember the road wheels have rubber tires. Here are the parts after the initial painting [p23]
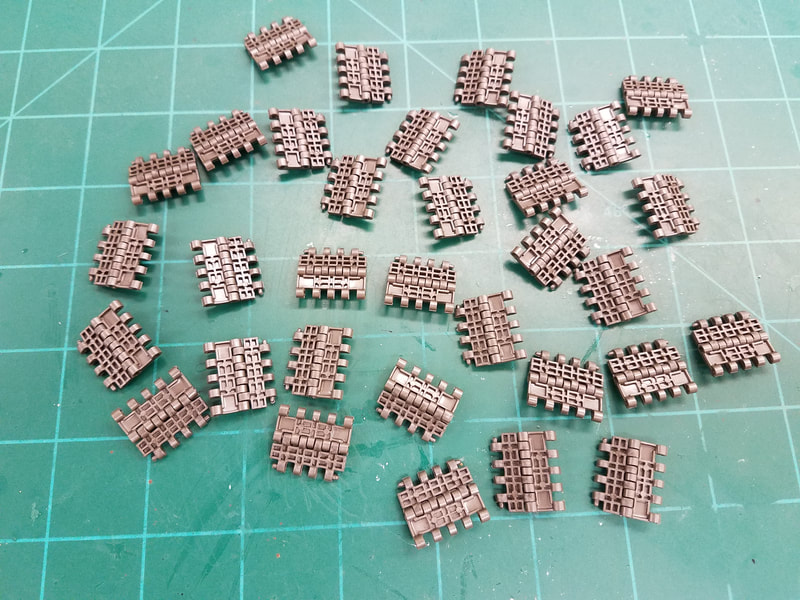
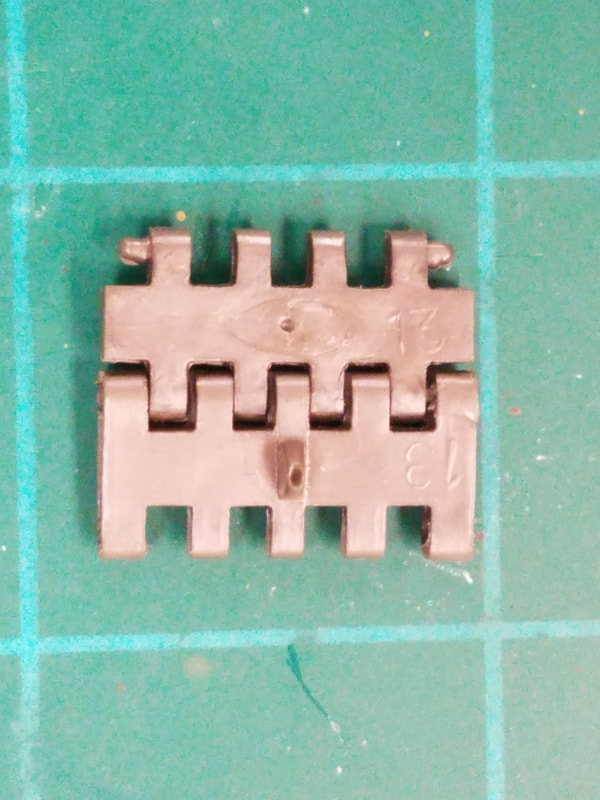
Step 8 Now for the tracks. There are two kinds: one with pins and one without them. Both need to have little nibs cut off and some have flash on the face that is difficulty to trim off. I used a scalpel because it is sharper. Make up 33 pairs as shown here [p24] for each side. There are numbers on the back side [p25] that apparently don't mean anything but be sure to keep them all on the same side of the track run. That way you can hide them on the hull side of the road wheels. The fit is very, very tight. After inserting one track pin, I ended up using a pair of small needle nose pliers to grab the other hole side and stretch it over the pin. Even though the instructions say to use 33 sets, when you go to install the run you will find that it is about one link too short. Not a pair, just one link. There is no tension adjustment on the axels but remember those springs we installed in Step 1? You have to compress the road wheels to get the track ends to meet. Not easy to do but once mated, they eventually stretch and the torsion bars come back down.
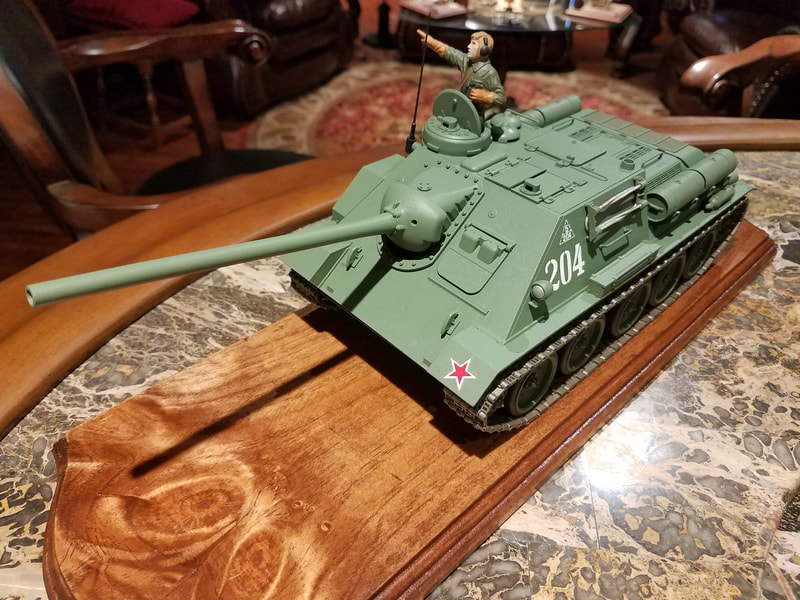
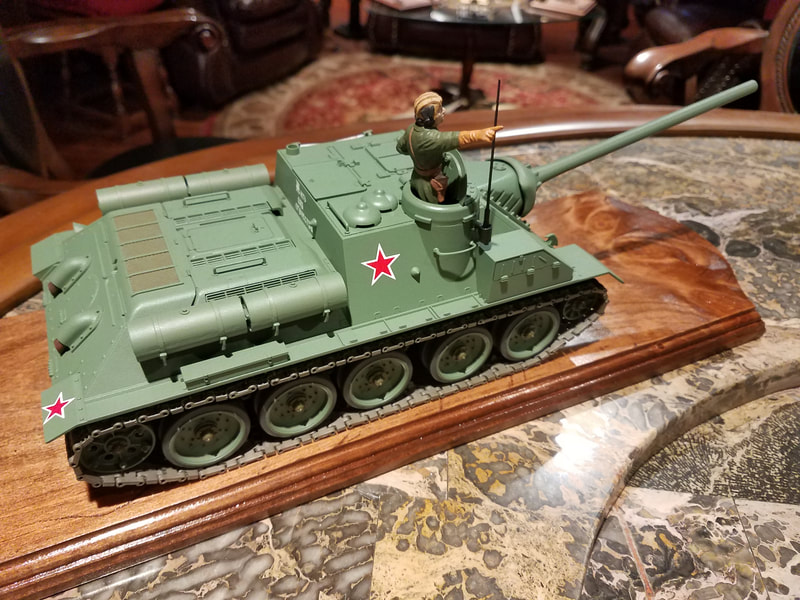
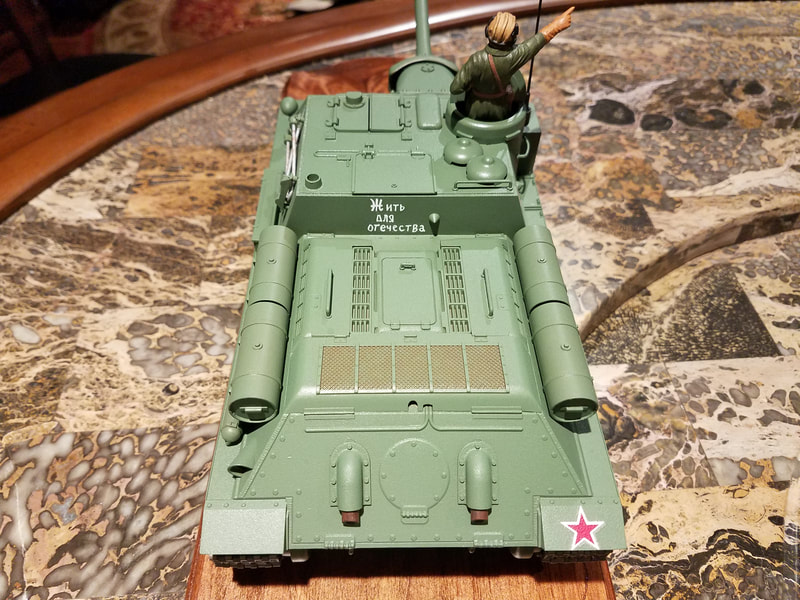
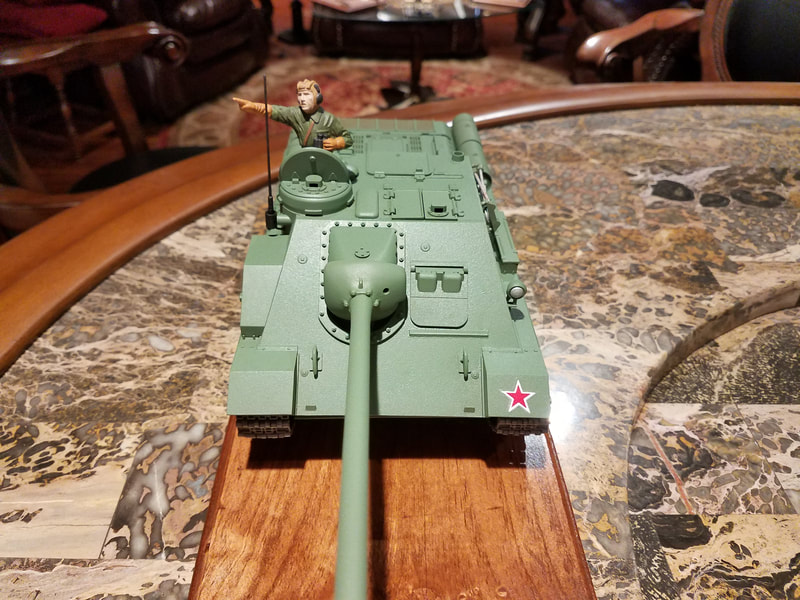
After applying the decals, which went on just fine (!), I had to use 4 coats of Solvaset to get them to settle down on the textured hull. Finally, I hit it all with Dullcote. Here is the completed model [p26-p29]. It's not bad for a 52 year old kit but it does illustrate how far the hobby has come.


