Build Log of the
Trumpeter T-62 tank for the KRAZ-6446 tractor w/ChMZAP 5247G trailer in 1/35 scale
By: Richard Geraci
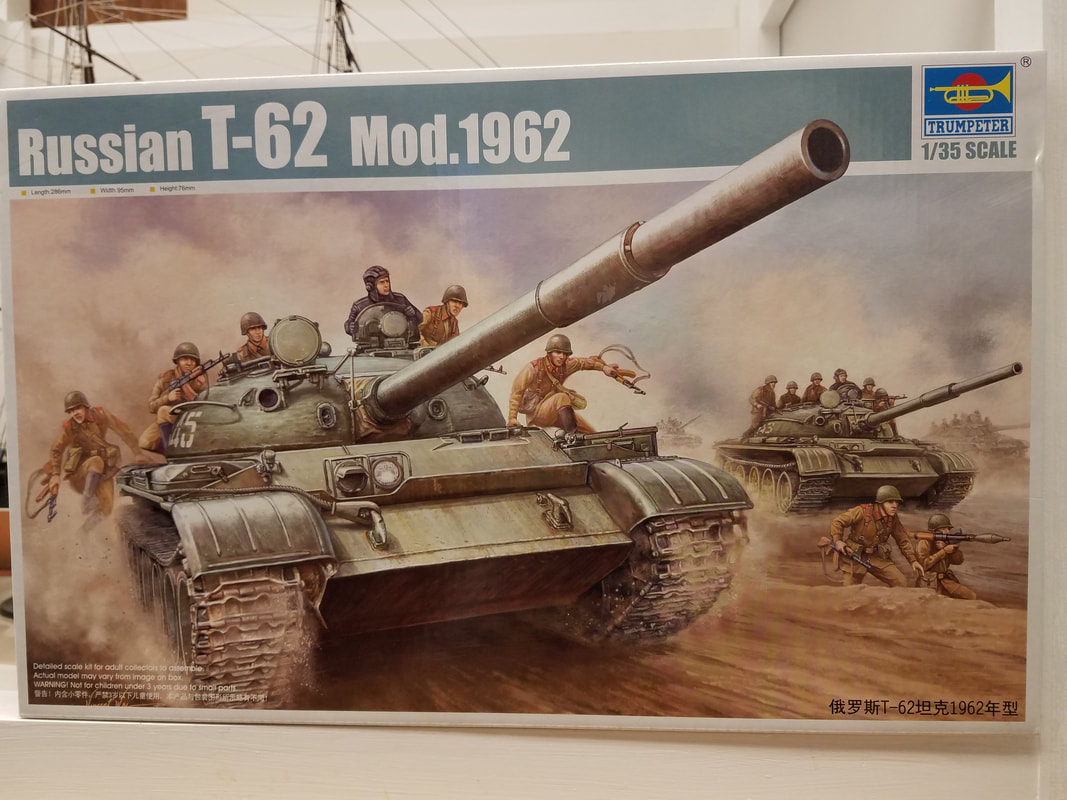
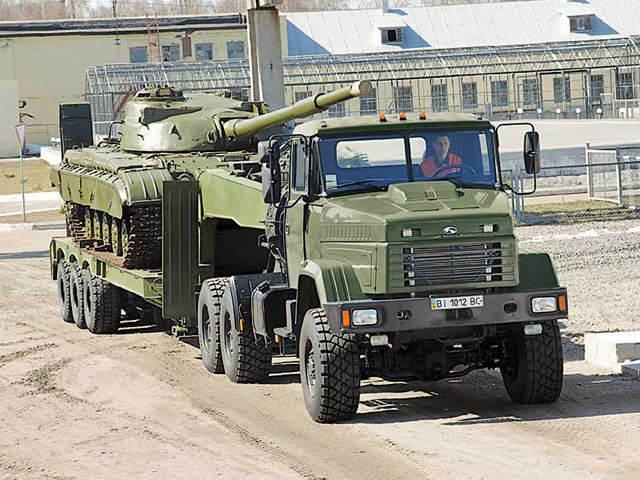
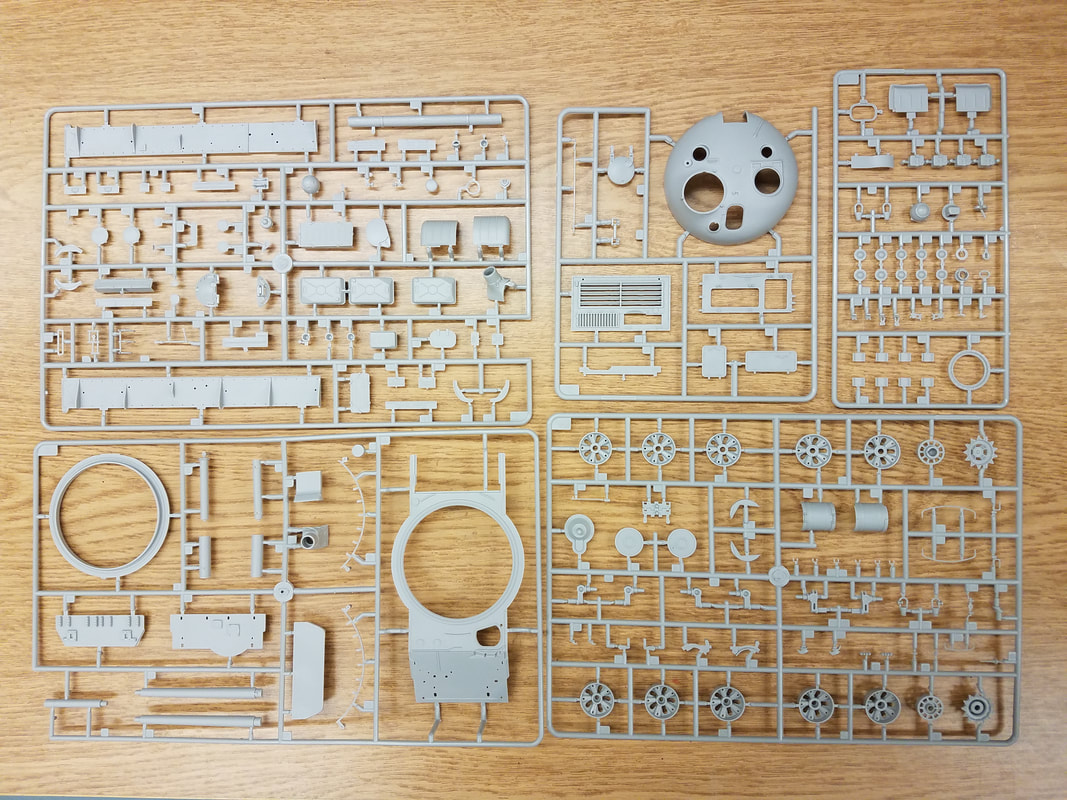
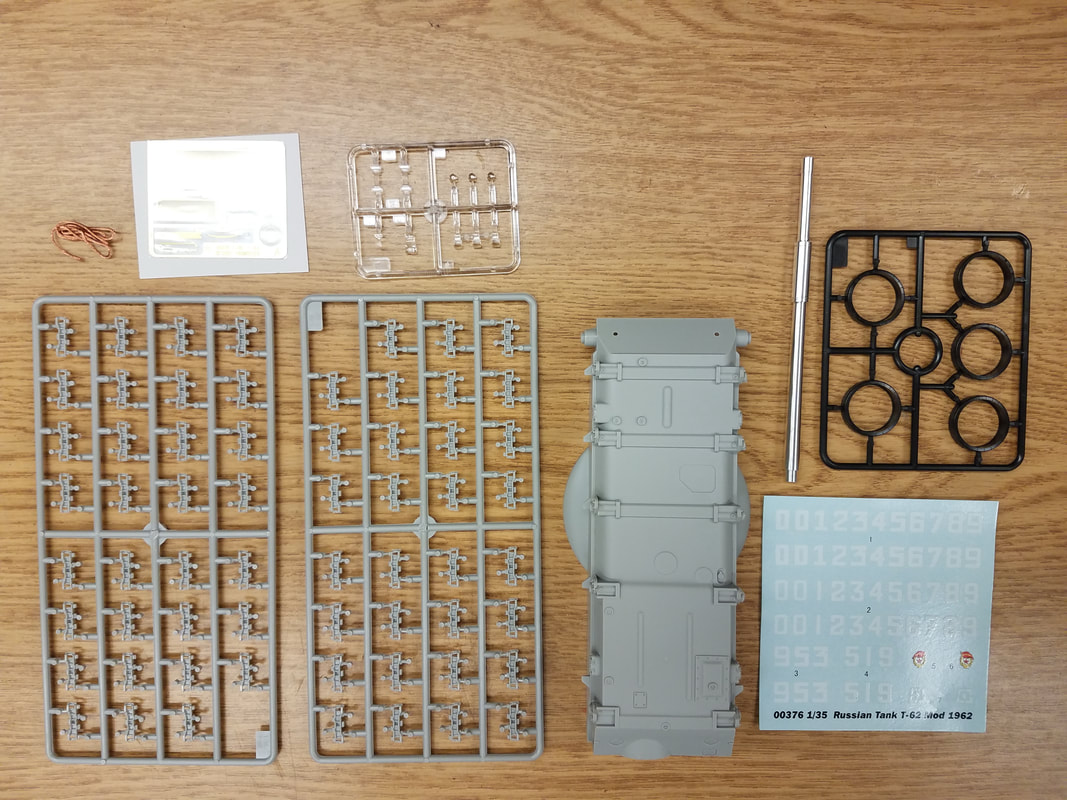
This is the load build part of a previous build of the Russian KRAZ tractor & trailer 1/35 scale. My load will be the T-62 Mod. 1962 from Trumpeter, kit 00376 released in 2009 [t1]. As a painting go-by, I'll use the same photo as the KRAZ [t2]. This parts count is not very large: two sprues of wheels/suspension, seven for the individual track links, four for the tires, four of other parts, some clear lenses, decals, a PE fret, a length of wire, and the lower hull. Surprisingly, there is an aluminum barrel included !! [t3, t4] The instructions contain 16 steps and there is a separate color/decal reference page [t5].
Step 1 Here we make the road wheels, idlers, and sprockets. Having the tires as separate pieces should make painting easier however they are made from a harder plastic that is difficult to clean off the sprue stubs and not destroy the fine tread lines. There are 6 of one style road wheel and four of another so be sure to keep them separated and identified. I'll go ahead and paint these now and get that out of the way [t6].
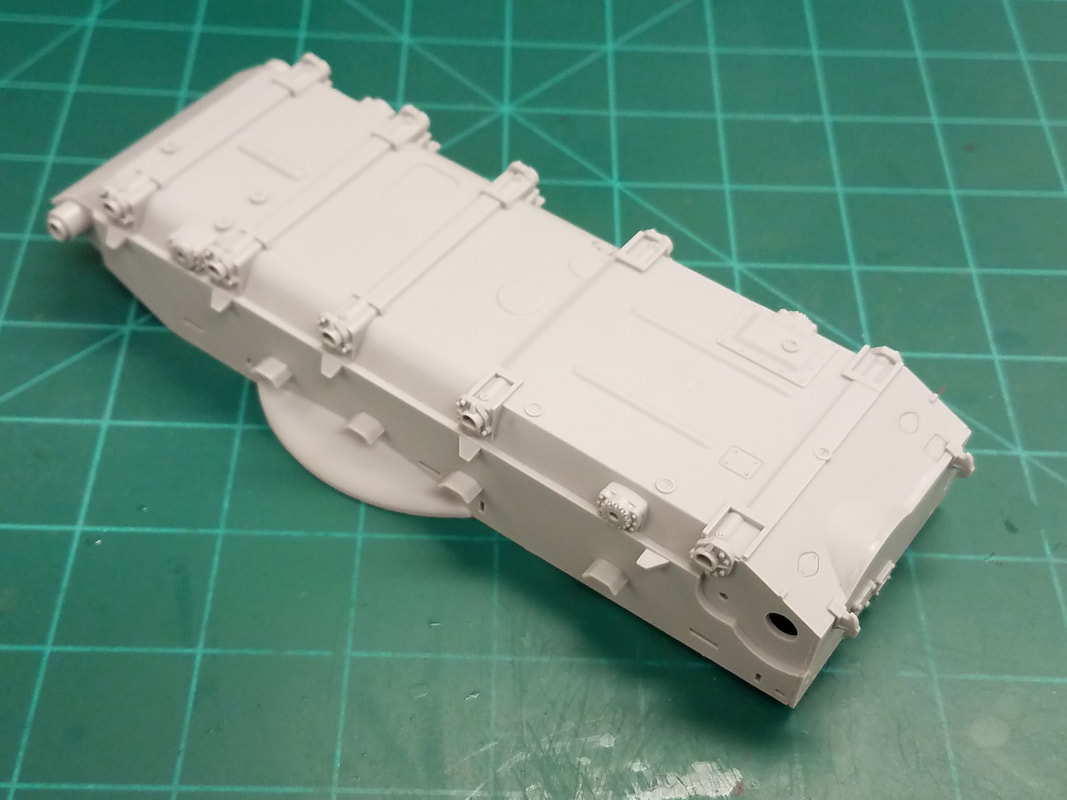
Step 2 This step adds some lower hull details and the rear glacis. Don't forget to drill the 4 holes as indicated [t7].
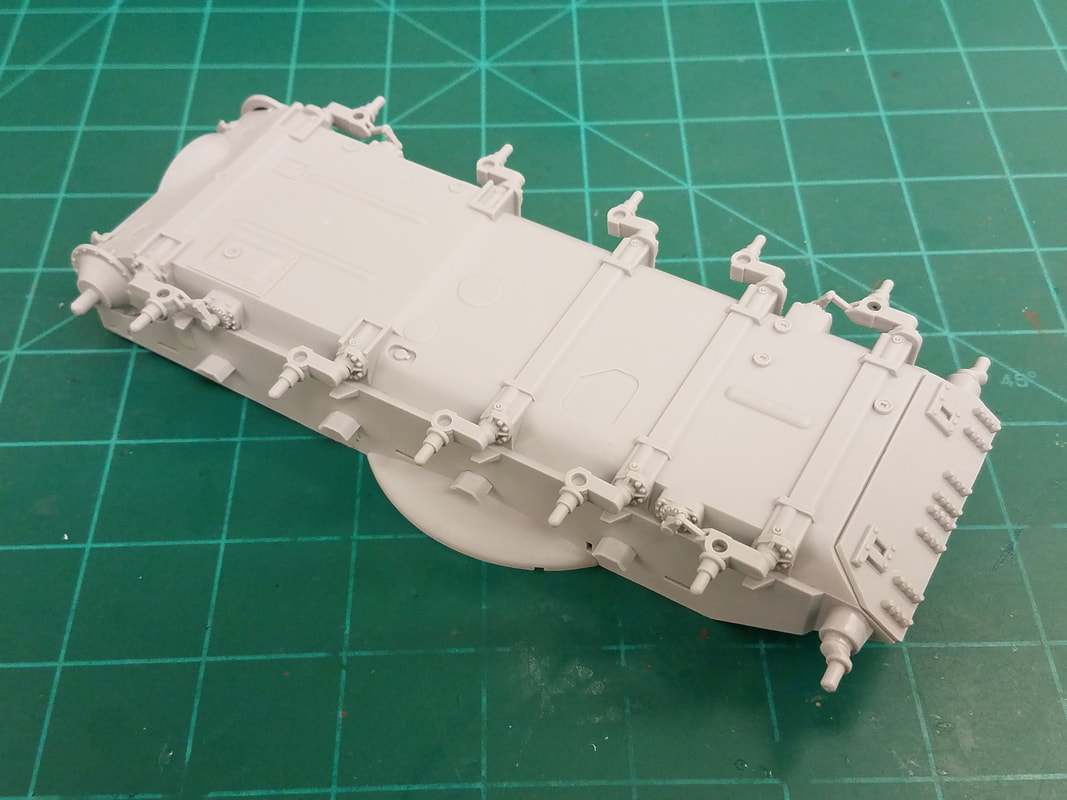
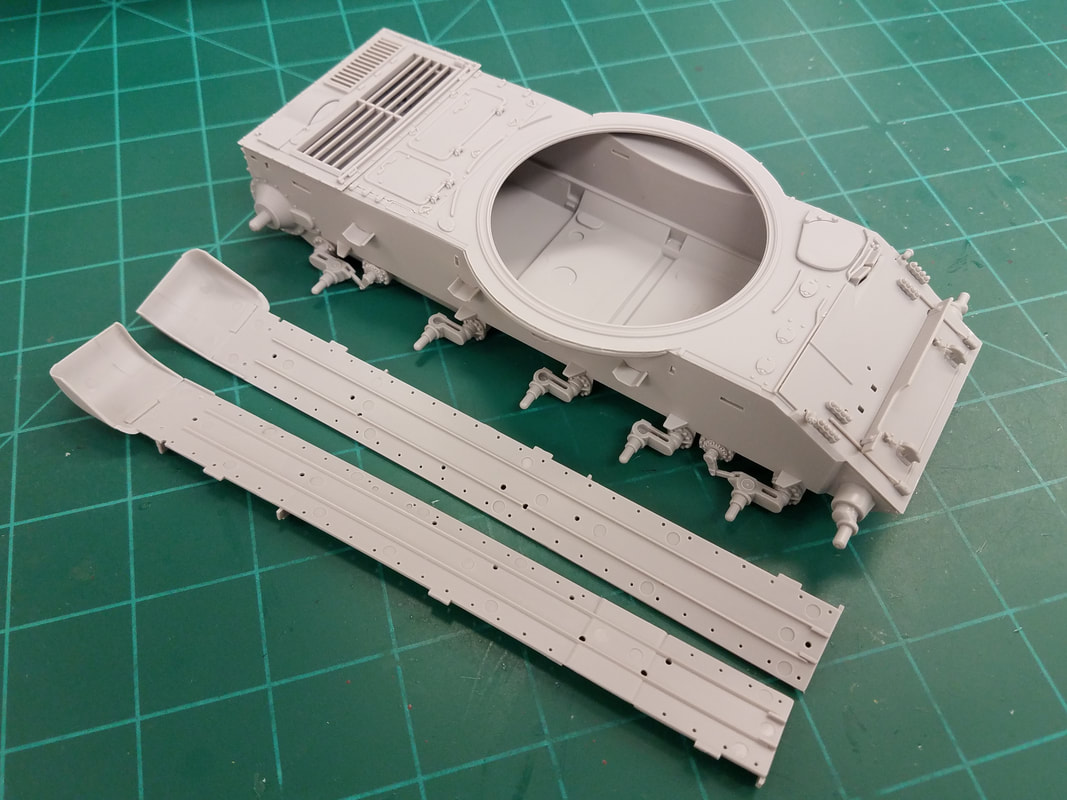
Step 3 Now we install the suspension arms and wheels. I'll hold off on the wheels till later after painting the hull. There is also an option to have a smooth front glacis or a detailed one, your choice [t8].
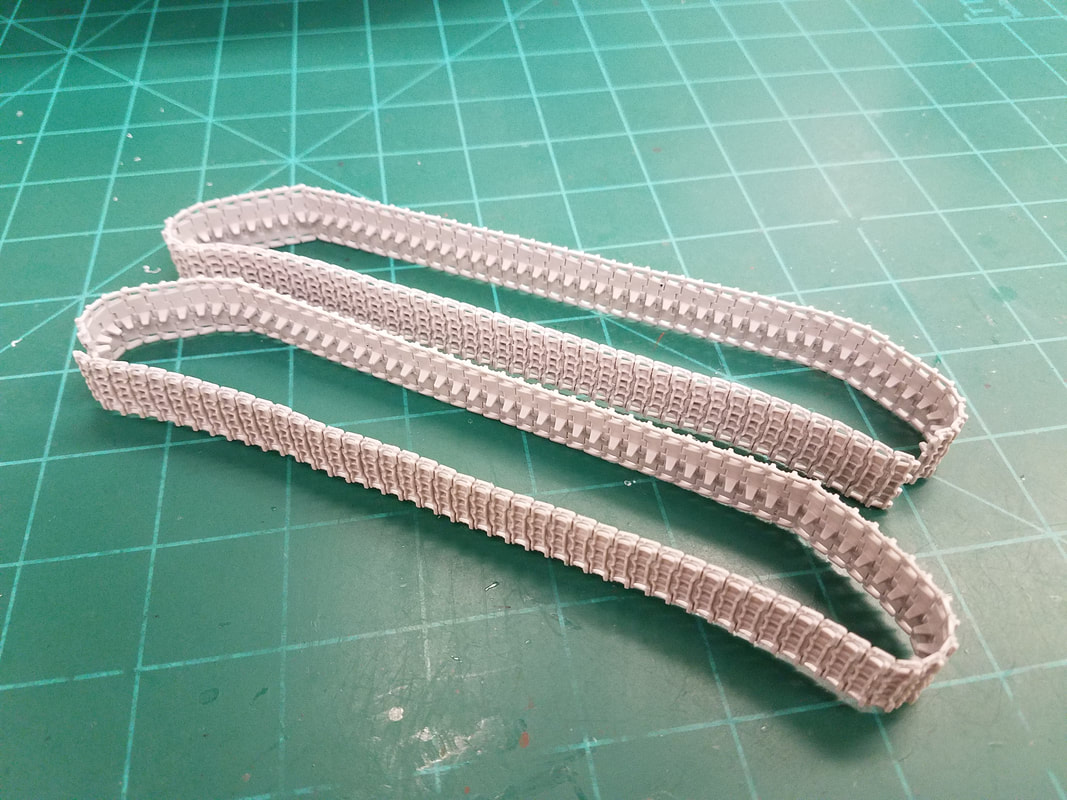
Step 4 Time for the tracks. These are individual links that must be glued together. The diagram indicates 94 links per side, total of 188, but it actually takes 95 per side. They give you 217 so there will be some spares. There are 4 stubs per link to clean up so plan on this taking some time. I made a jig from two wood strips with a spacer between them that is the width of the center track horn. Then I just line the links up and glue them together [t9]. The spacer is on the lower part of the strips so you can't see it in the photo. This jig is also raised above the bench which makes it easier to work on too. Here are the runs ready for painting [t10].
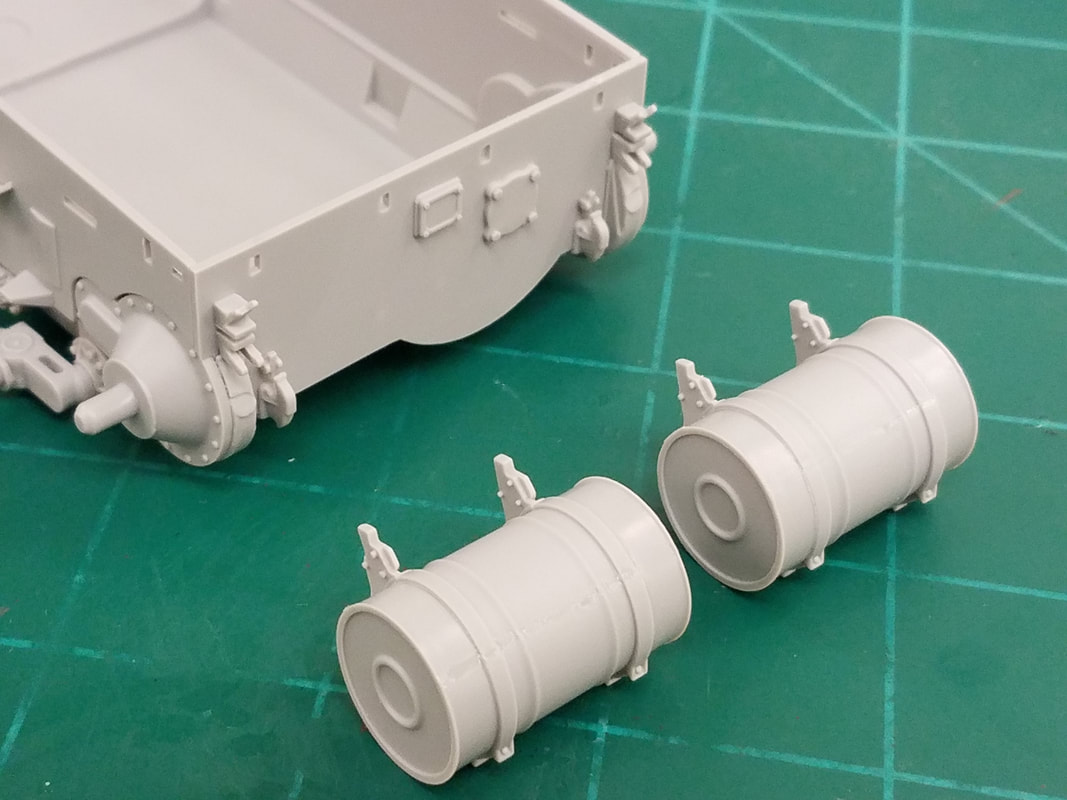
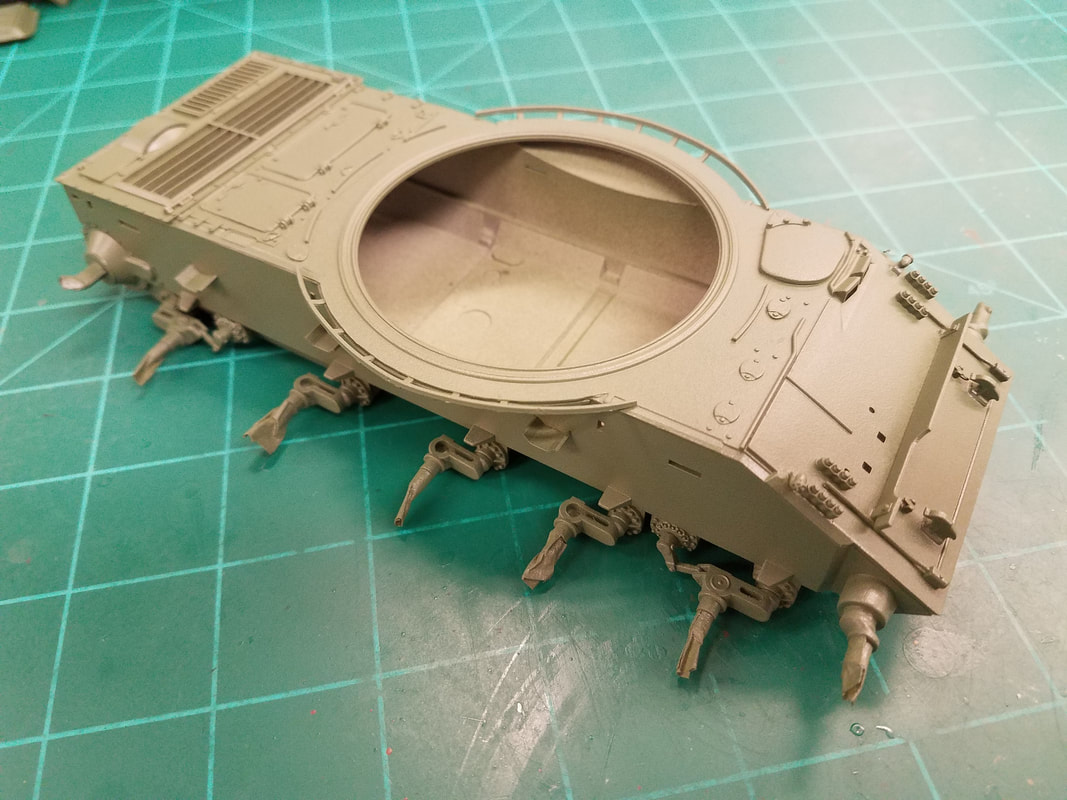
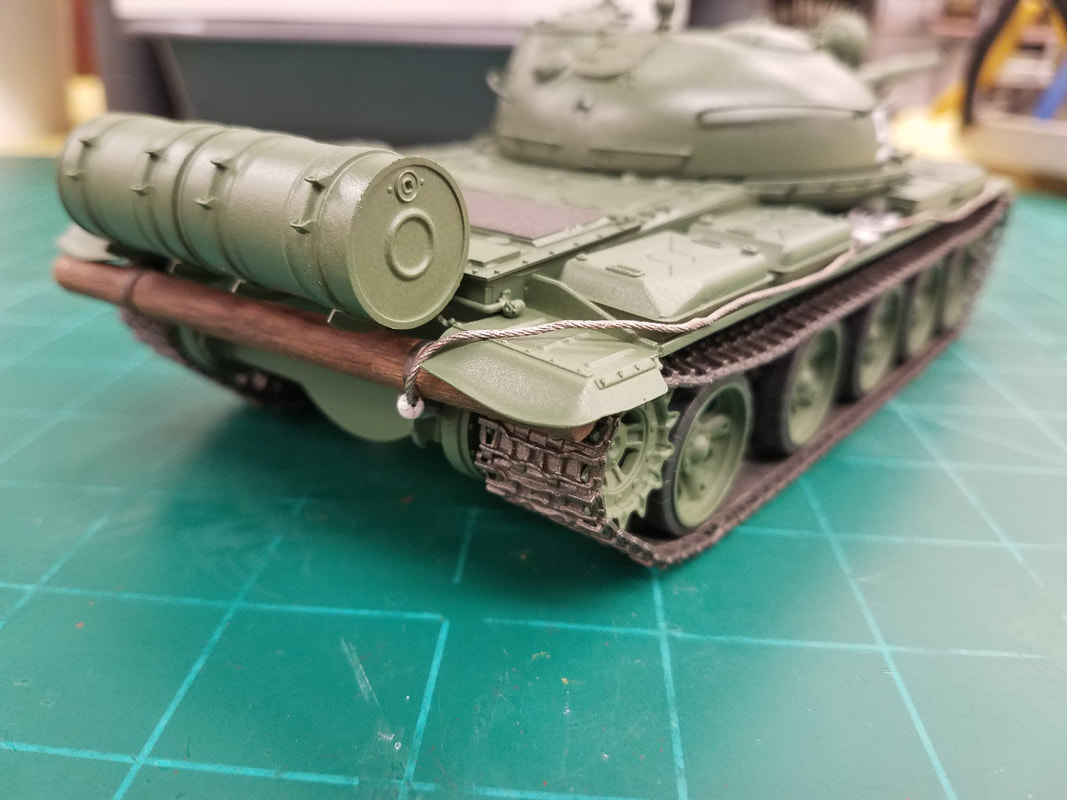
Steps 5, 6 Now we add some lower hull details. I suggest you jump ahead a bit and make the fuel drums, attach the supports to them, and then align with the slots on the hull. The fit is loose and hard to get aligned straight. You can attach them to the hull now or wait until after painting as painting behind the drums is difficult if attached. I left them off for now [t11]. Be sure to make the 9 holes in the deck.
Step 7 The upper hull deck is pretty simple and fits well on the sides. There is a gap along the front edge that needs filler though. I suggest leaving off the headlights and clear visor ports until after painting. Also note there are two parts A4 but the diagram only shows one [t12].
Steps 8, 9 This covers the upper hull rear deck, side skirts, and includes two PE screens. I'll leave the PE off for now, paint them separately, and install after the hull is painted [t13].
Step 10 Here we install the side skirts, containers, and fuel drums however I'll hold off on the drums and skirts till later.
Steps 11, 12 More containers to build and install plus some other details. The fit on some of the boxes is not good so some trimming and filling is needed.
Step 13 This completes the hull assembly but leave the unditching log off for now. I'm off to the paint shop. I'll be using satin Italian Olive to match the tractor/trailer per the photo [t14].
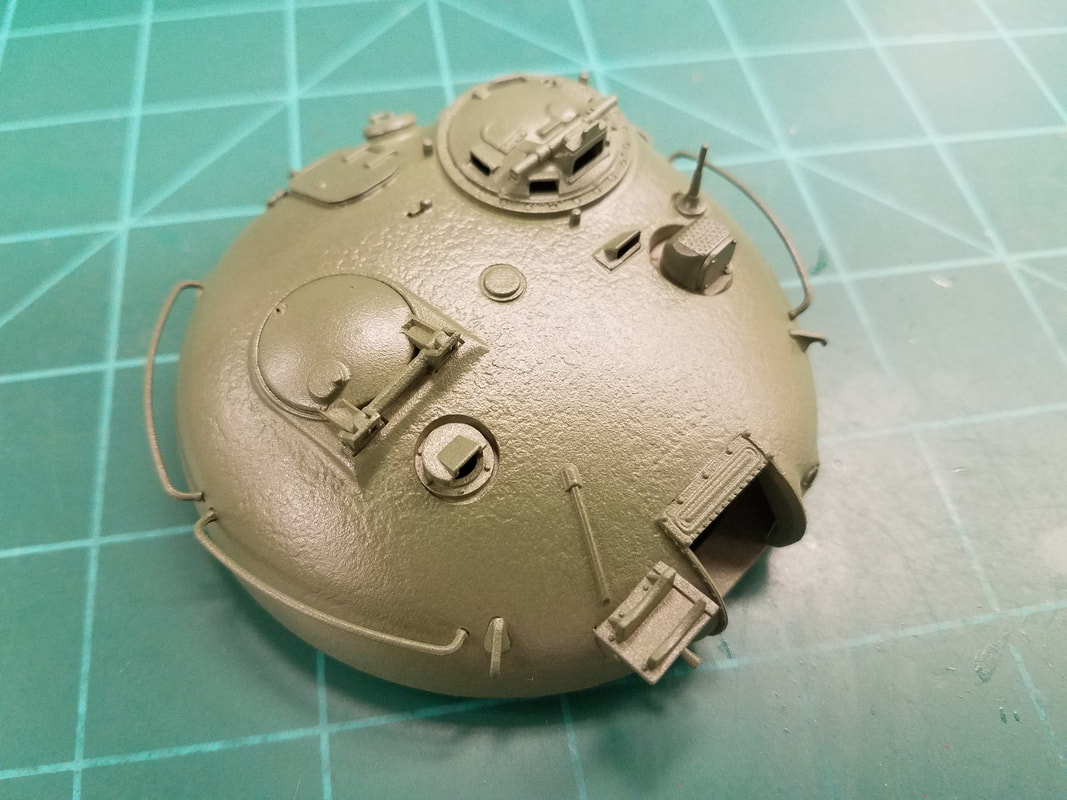
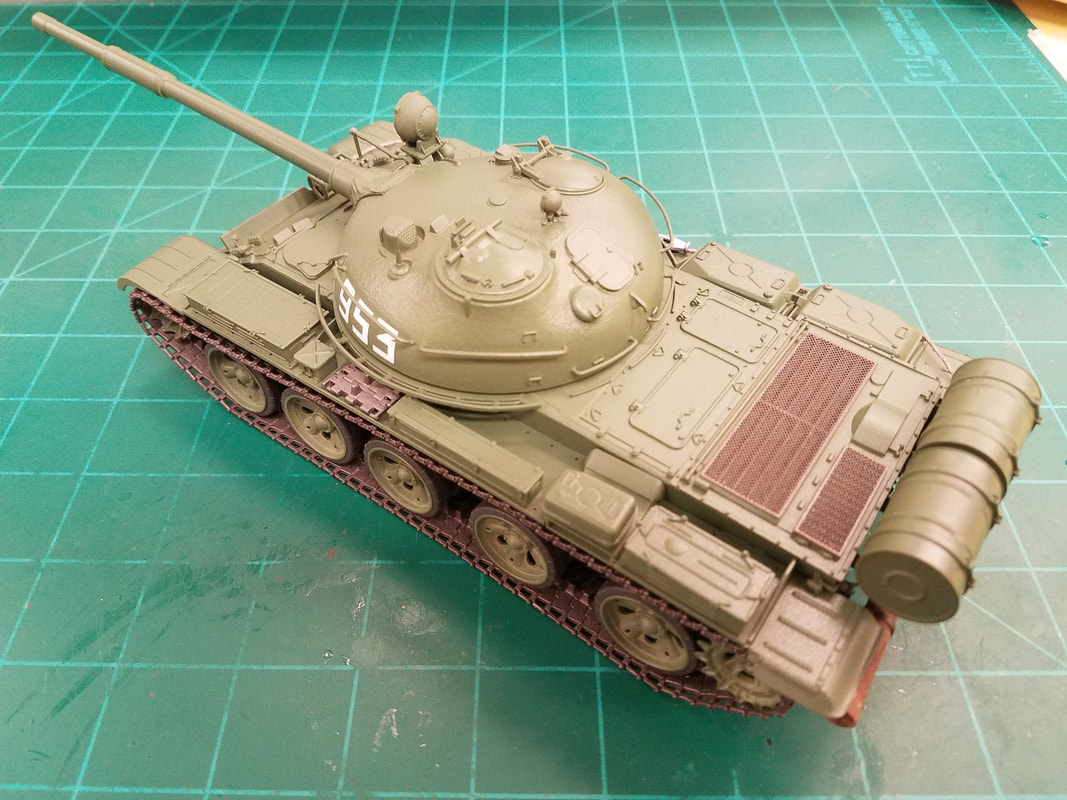
Step 15 There is no step 14 (?). There is a lot going on here for the turret build. First, parts B1 and B2 are reversed. Then you must drill holes for the grab rails. Be sure to use the correct hole mark locations as there are some that are not used on this version of the T-62. Leave the clear parts off until after painting. Also, grab a couple parts from step 16 if you want [t15].
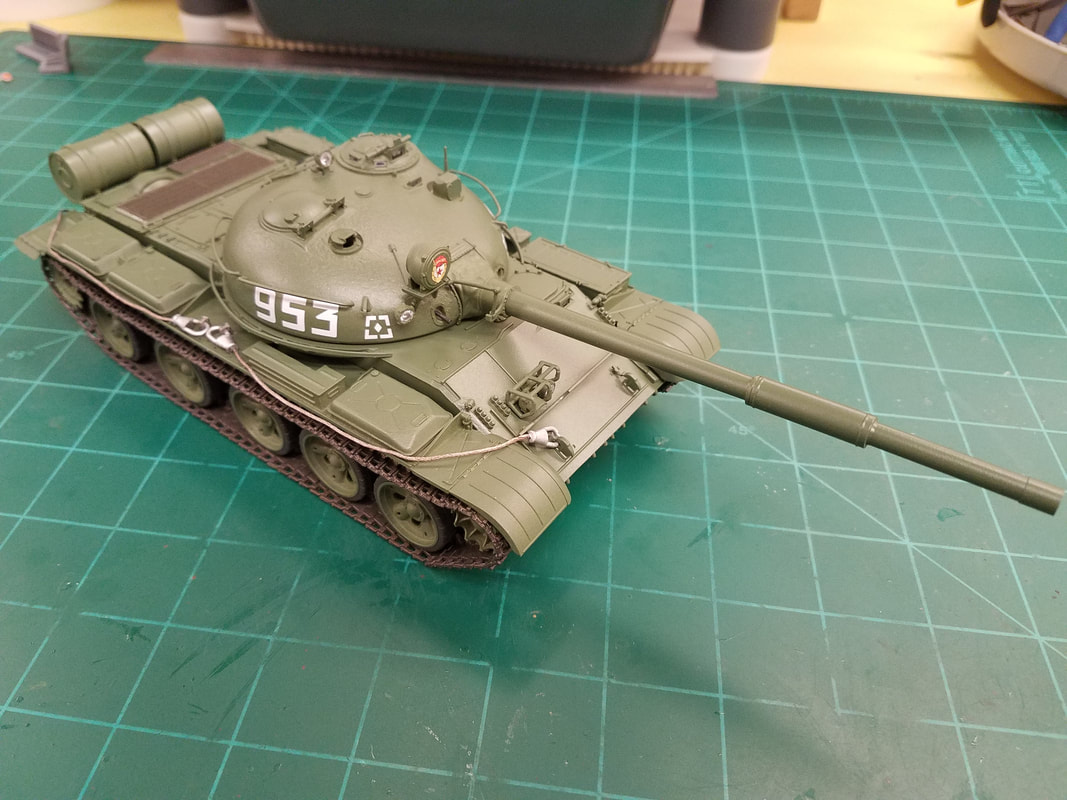
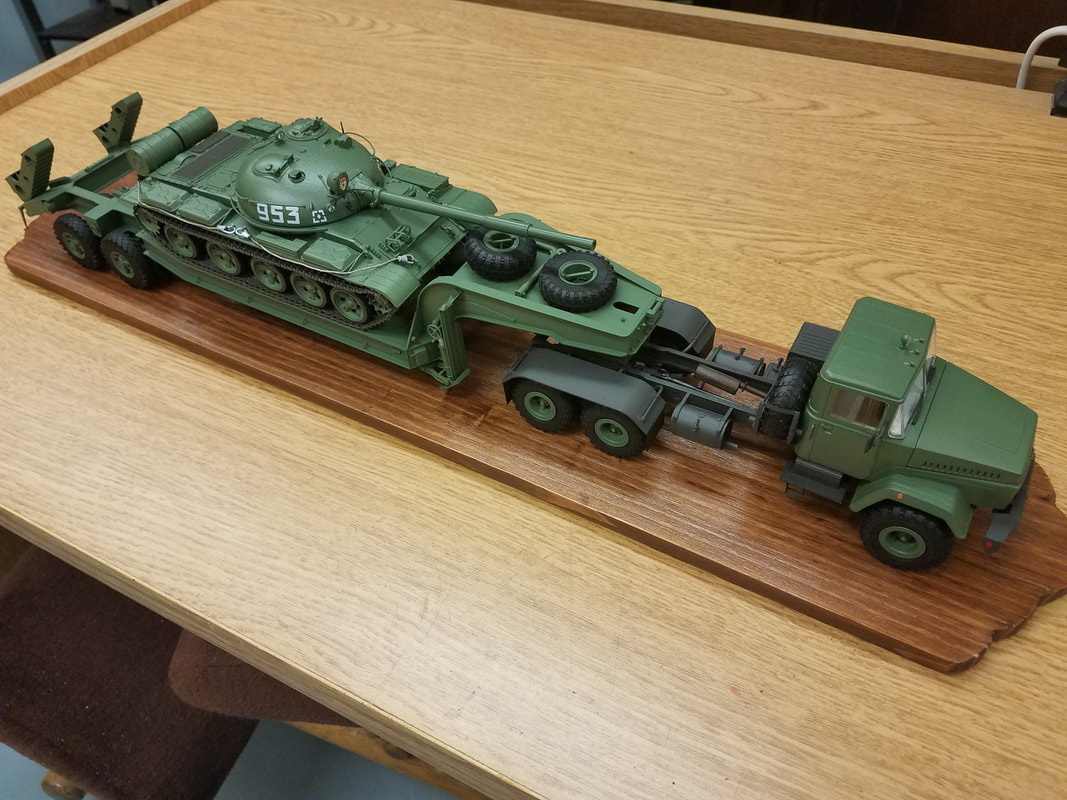
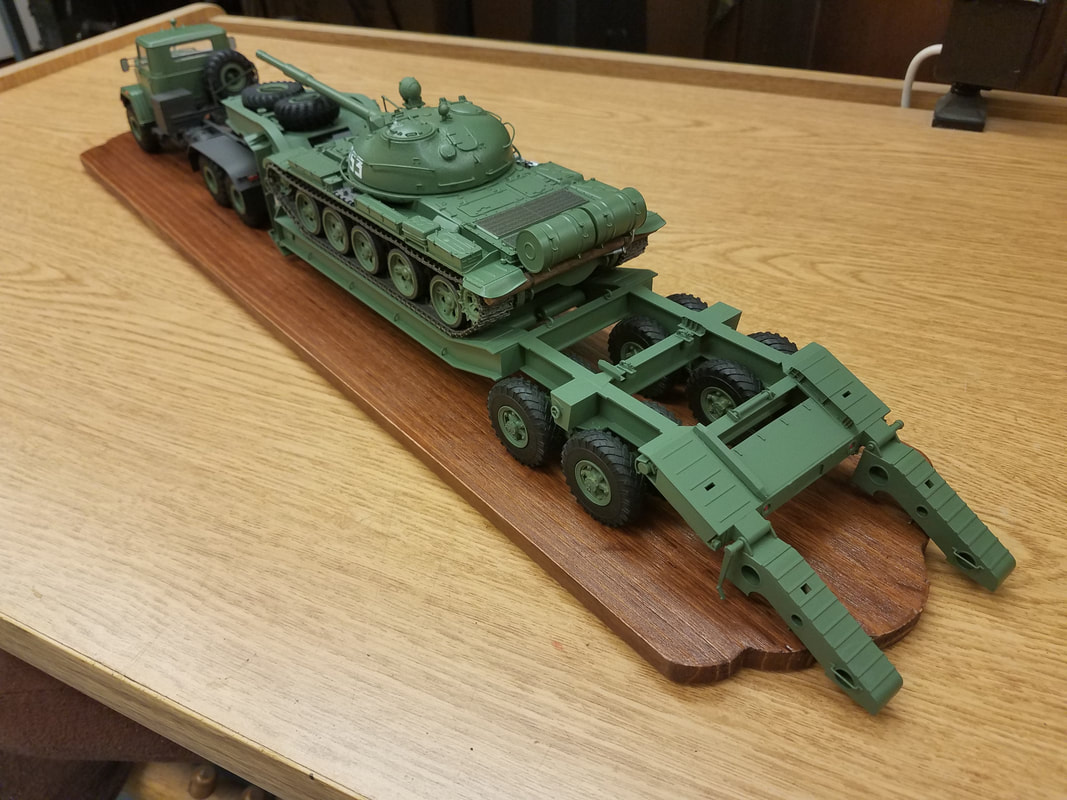
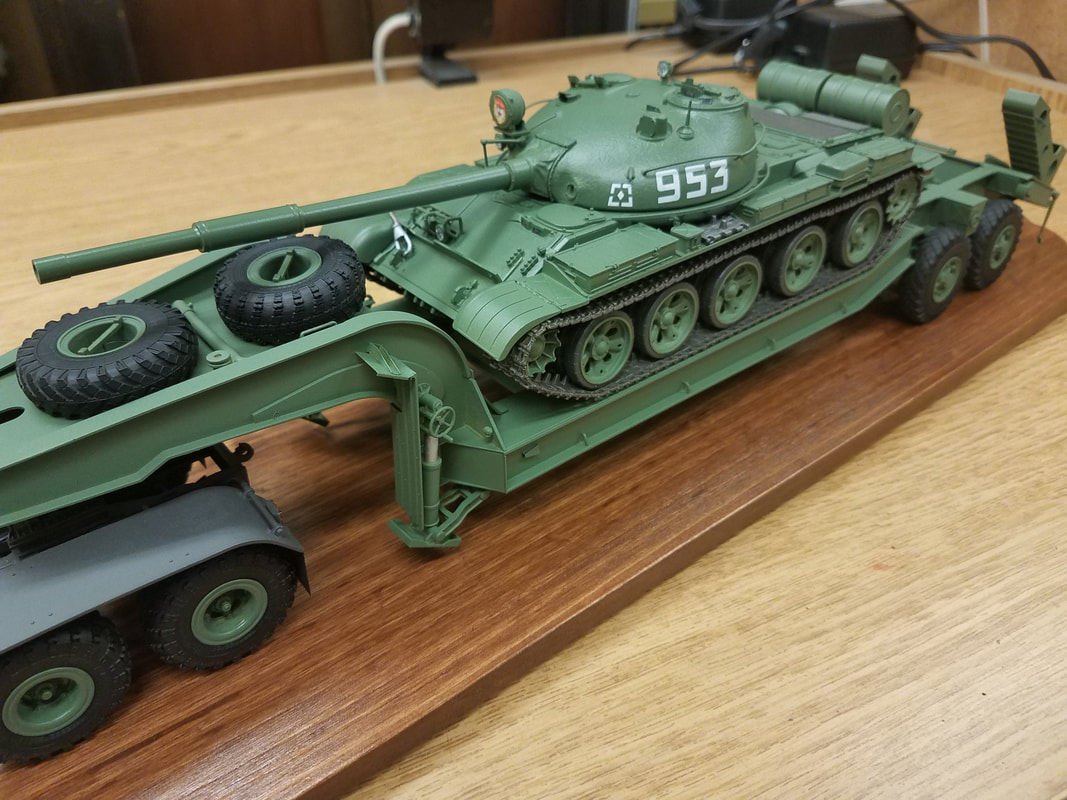
Step 16 You have the option of the turned metal barrel or the multi-piece plastic one. I chose the metal one. I primed it in gray and fitted the collar with a bit of enlarging with a broaching tool. Now it all comes together. Add the misc parts we've previously left off, insert the barrel on the turret, and do some touch up painting. There are only five decals to lay down [t16-t19]. Here are the tractor, trailer, and load together on a wood base [t20-t23].
Thanks for sticking with me through this multi-part build. There were a lot of little fit issues along the way that I did not mention but any modeler with a little experience will know how to handle them.
Step 1 Here we make the road wheels, idlers, and sprockets. Having the tires as separate pieces should make painting easier however they are made from a harder plastic that is difficult to clean off the sprue stubs and not destroy the fine tread lines. There are 6 of one style road wheel and four of another so be sure to keep them separated and identified. I'll go ahead and paint these now and get that out of the way [t6].
Step 2 This step adds some lower hull details and the rear glacis. Don't forget to drill the 4 holes as indicated [t7].
Step 3 Now we install the suspension arms and wheels. I'll hold off on the wheels till later after painting the hull. There is also an option to have a smooth front glacis or a detailed one, your choice [t8].
Step 4 Time for the tracks. These are individual links that must be glued together. The diagram indicates 94 links per side, total of 188, but it actually takes 95 per side. They give you 217 so there will be some spares. There are 4 stubs per link to clean up so plan on this taking some time. I made a jig from two wood strips with a spacer between them that is the width of the center track horn. Then I just line the links up and glue them together [t9]. The spacer is on the lower part of the strips so you can't see it in the photo. This jig is also raised above the bench which makes it easier to work on too. Here are the runs ready for painting [t10].
Steps 5, 6 Now we add some lower hull details. I suggest you jump ahead a bit and make the fuel drums, attach the supports to them, and then align with the slots on the hull. The fit is loose and hard to get aligned straight. You can attach them to the hull now or wait until after painting as painting behind the drums is difficult if attached. I left them off for now [t11]. Be sure to make the 9 holes in the deck.
Step 7 The upper hull deck is pretty simple and fits well on the sides. There is a gap along the front edge that needs filler though. I suggest leaving off the headlights and clear visor ports until after painting. Also note there are two parts A4 but the diagram only shows one [t12].
Steps 8, 9 This covers the upper hull rear deck, side skirts, and includes two PE screens. I'll leave the PE off for now, paint them separately, and install after the hull is painted [t13].
Step 10 Here we install the side skirts, containers, and fuel drums however I'll hold off on the drums and skirts till later.
Steps 11, 12 More containers to build and install plus some other details. The fit on some of the boxes is not good so some trimming and filling is needed.
Step 13 This completes the hull assembly but leave the unditching log off for now. I'm off to the paint shop. I'll be using satin Italian Olive to match the tractor/trailer per the photo [t14].
Step 15 There is no step 14 (?). There is a lot going on here for the turret build. First, parts B1 and B2 are reversed. Then you must drill holes for the grab rails. Be sure to use the correct hole mark locations as there are some that are not used on this version of the T-62. Leave the clear parts off until after painting. Also, grab a couple parts from step 16 if you want [t15].
Step 16 You have the option of the turned metal barrel or the multi-piece plastic one. I chose the metal one. I primed it in gray and fitted the collar with a bit of enlarging with a broaching tool. Now it all comes together. Add the misc parts we've previously left off, insert the barrel on the turret, and do some touch up painting. There are only five decals to lay down [t16-t19]. Here are the tractor, trailer, and load together on a wood base [t20-t23].
Thanks for sticking with me through this multi-part build. There were a lot of little fit issues along the way that I did not mention but any modeler with a little experience will know how to handle them.