The Czech-built 35t tank was one of the weapons appropriated by the Nazis after the annexation of Czechoslovakia and used by Germany during World War II. It was employed extensively by the 6th Panzer Division in its early campaigns. An advanced design for its day, the 35t nevertheless did not fare well in the cold of Russia. Its steering and gear-changing were assisted by means of compressed air, and this pneumatic equipment literally “froze up” in sub-zero temperatures. By the winter of 1941-42, the 35t, with its 37mm gun and riveted armor, was obsolete as a main battle tank.
It has long been my contention that good building, painting, and weathering can make even an average kit look good. The Tamiya kit of the 35t is a re-box of the 1990s vintage kit from CMK, a Czech company. Tamiya added new pioneer tools, jerry cans and racks, a nice crew figure, and a few other goodies. These additions do improve the kit, but overall, it is not up to today’s standards. Still, with the addition of Friulmodel tracks, other additions and improvements, and careful painting and weathering, I think I succeeded in creating a model that will hold up even against newer 35t offerings from Academy and Bronco.
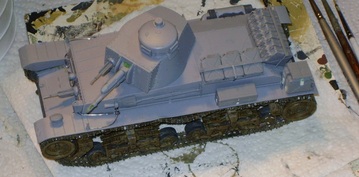
The lower hull of this kit is a three-part affair, and the fit of these parts, with their beveled edges, is iffy. After joining the lower hull parts, I installed the glacis and rear plates right away, and test-fitted the driver’s/hull machine gunner-radio operator’s plate and upper hull to make sure all parts would work together. Ultimately, they did.
The kit’s suspension is adequate, though not great. Link-and-length tracks are provided. Since I despise those, and since the CMK tracks have knockout marks on the outer face of each track link that must be dealt with, I shelled out the extra money for Friul metal tracks. Road wheels can be left operational, and I held off cementing the drive sprockets and idlers until painting of the suspension was done and the tracks were ready to be installed. Since the shafts that connect the tank's paired return rollers are too large in diameter to accommodate the length of the track guide teeth, the kit instructions recommend cutting off the teeth where they will pass between the rollers. I didn't this idea with plastic track track links; I liked it even less with metal replacement tracks in hand. I solved this problem by drilling holes partway through the tops of the shafts with a small ball cutter in a Dremmel tool. The Fruil guide teeth fit into these holes so that the upper run of the track could rest, as it should, directly on the return rollers.
The Tamiya-supplied tools (jack, shovel, pick axe, etc.) and machine guns really help this kit. The model shows its age in that its exhaust pipe, horn, and even the Tamiya machine guns must be drilled out. The exhaust is especially poor, but with a little careful work and good painting, it doesn’t detract from the model. I approximated the plate on the hull side that the exhaust joins to with sheet styrene and bolts from the spares box.
A big downside to this kit is that the driver’s hatches are molded shut. In addition, the hatch for the commander’s cupola has no interior detail. A great deal of extra work would be needed to model these hatches open, and I chose not to do it.
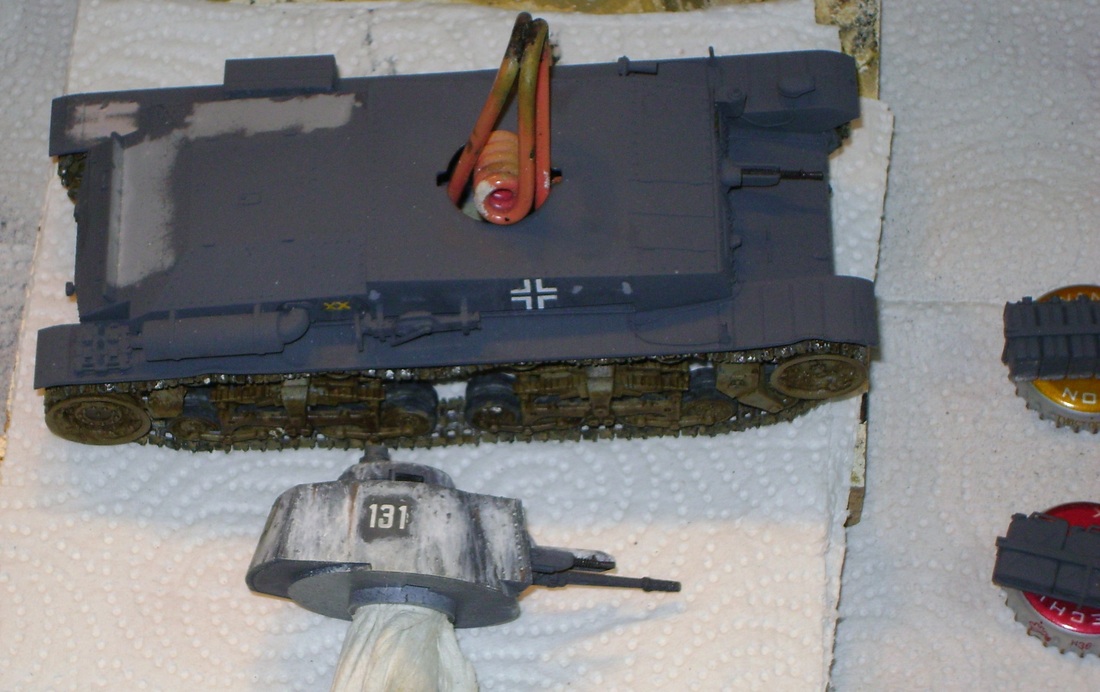
For some odd reason, CMK made the opening for fitting the turret into the upper hull barely big enough to accommodate a pinkie finger. To facilitate handling during final painting and weathering of the hull and suspension, I inserted the handles of a spring clip into this aperture. With those handles spread inside the hull by the spring and firmly wedged in place, I could use the business end of the clip to pick up and maneuver the model. The trick was getting the clip back out once I was ready to place the turret. I managed this with just a little trauma and no serious damage.
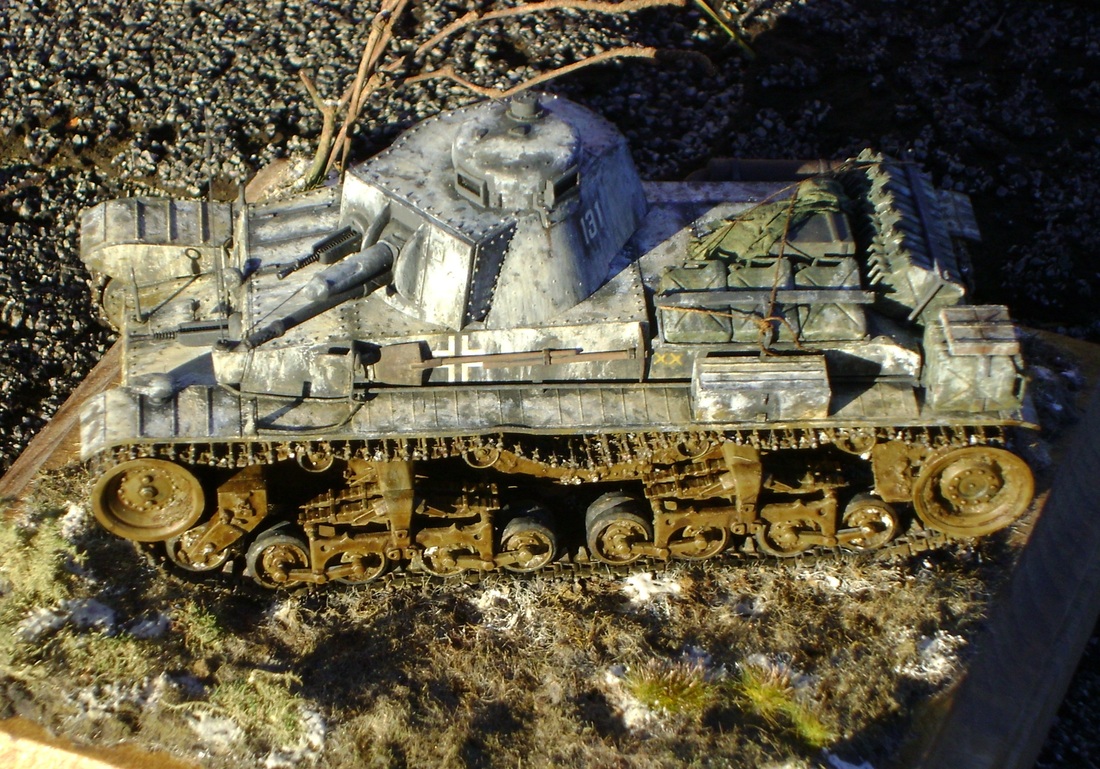
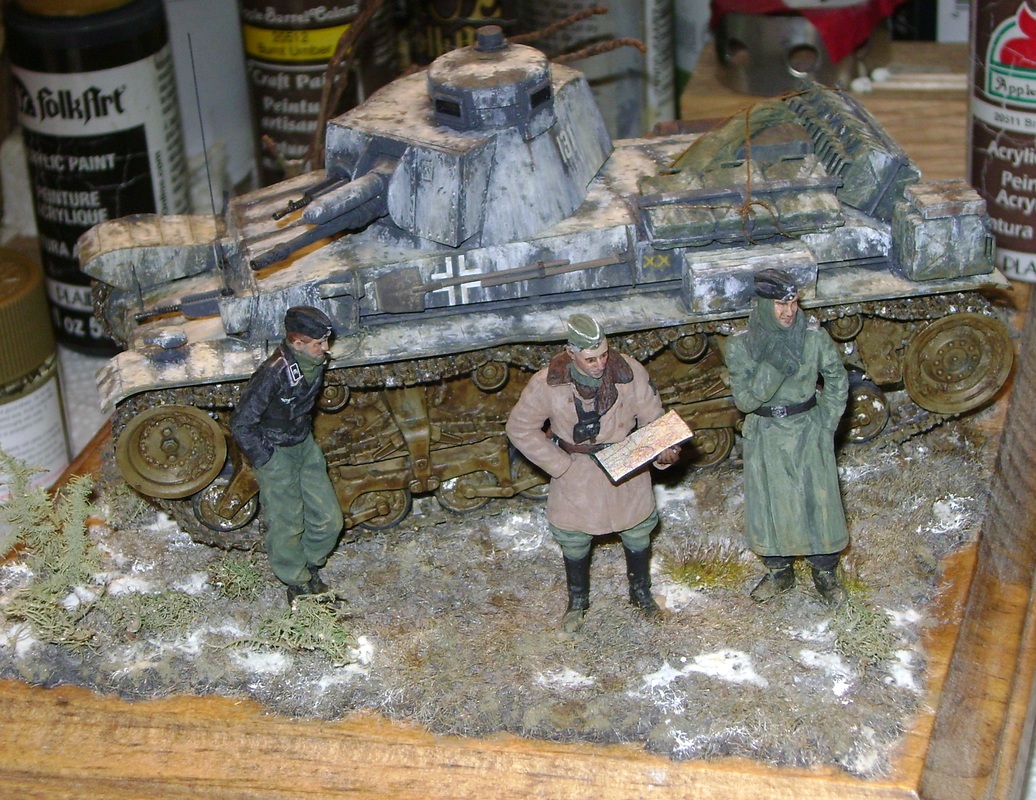
The Tamiya/CMK kit can be built in one of three versions, for the Polish, French, or Russian campaigns. I built mine as a Russian campaign vehicle of the 6th Panzer Division, with a full complement of eleven jerry cans held in racks on the hull. The kit decals (Tamiya’s) conformed well with use of some setting solution. Silvering was minimal and easily dealt with by means of some careful painting and weathering.
For me, a Panzer Gray finish, the only option available here, is a nightmare to weather. Fortunately, my vehicle is depicted at the end of a Russian winter, with patchy snow on the ground. It therefore wears a scruffy, soiled, and stained coat of winter whitewash that obviated the need to struggle with a gray paint job.
Why build this kit? My reasons were simple: I had bought it before any alternative was available and had the build underway when the Academy kit appeared. My 35t required more work than a more modern kit would have, but once the dust had settled, I had a model I was pleased with, and that’s what counts.
