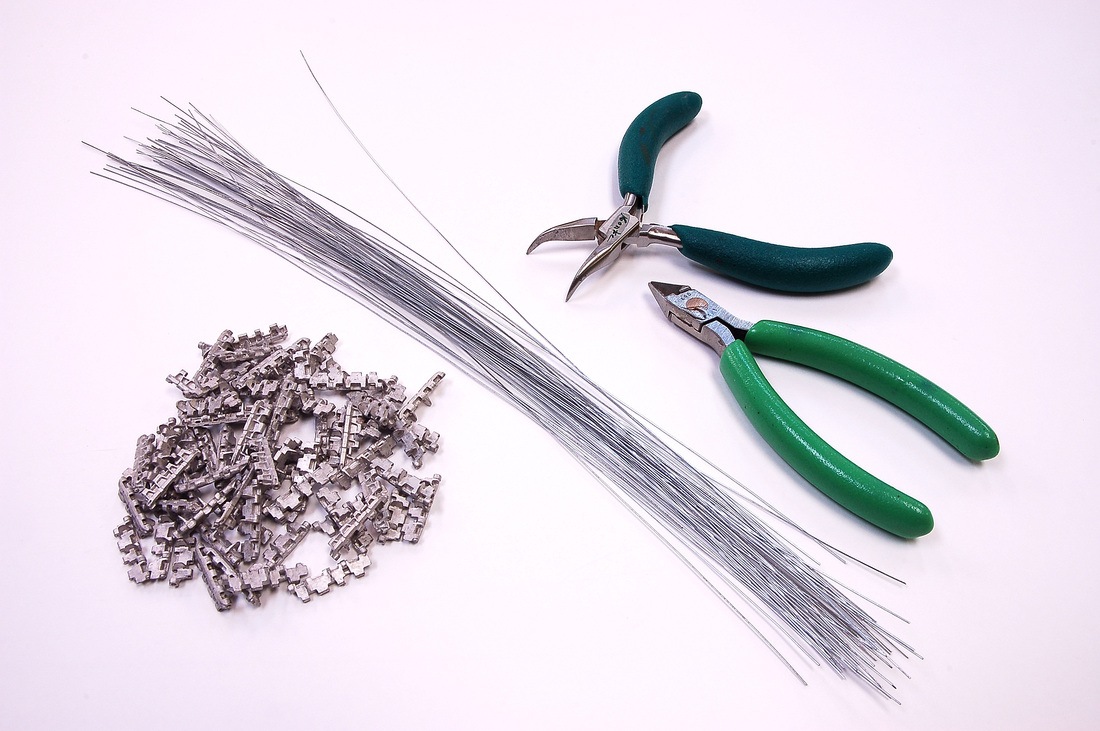
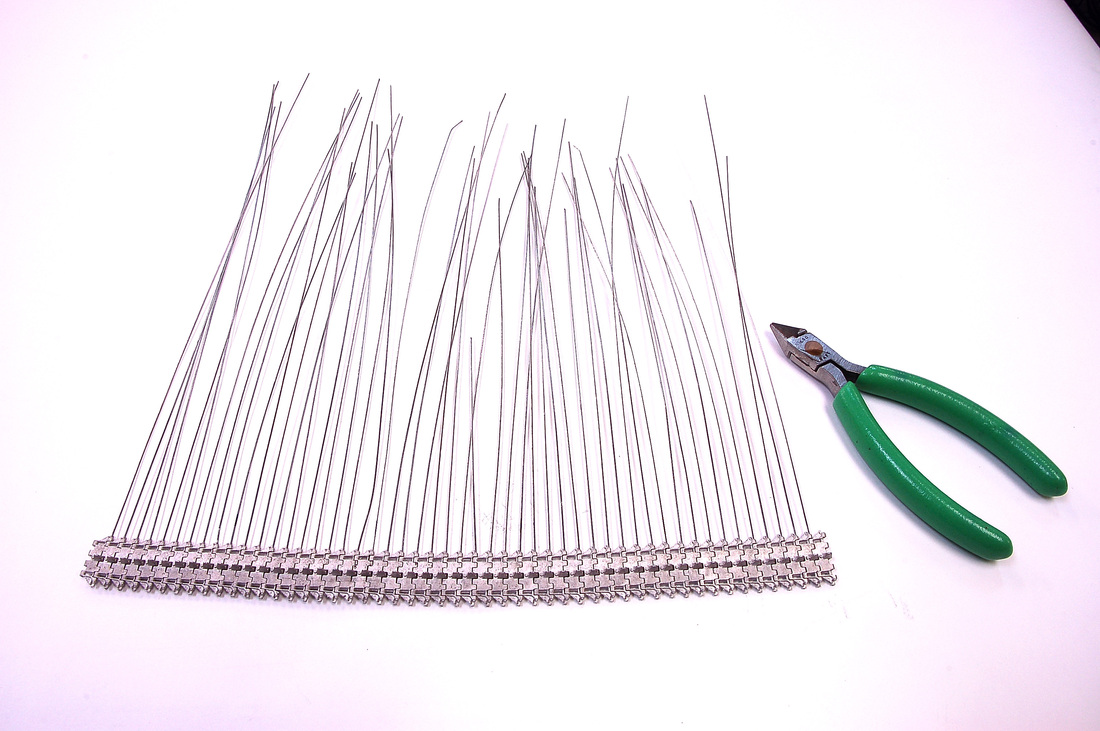
The tools that will be required to assemble the tracks: curved needle nose pliers, good flush cut cutters, and the pack of Track Wire(50pc.) and the Fruil track links.
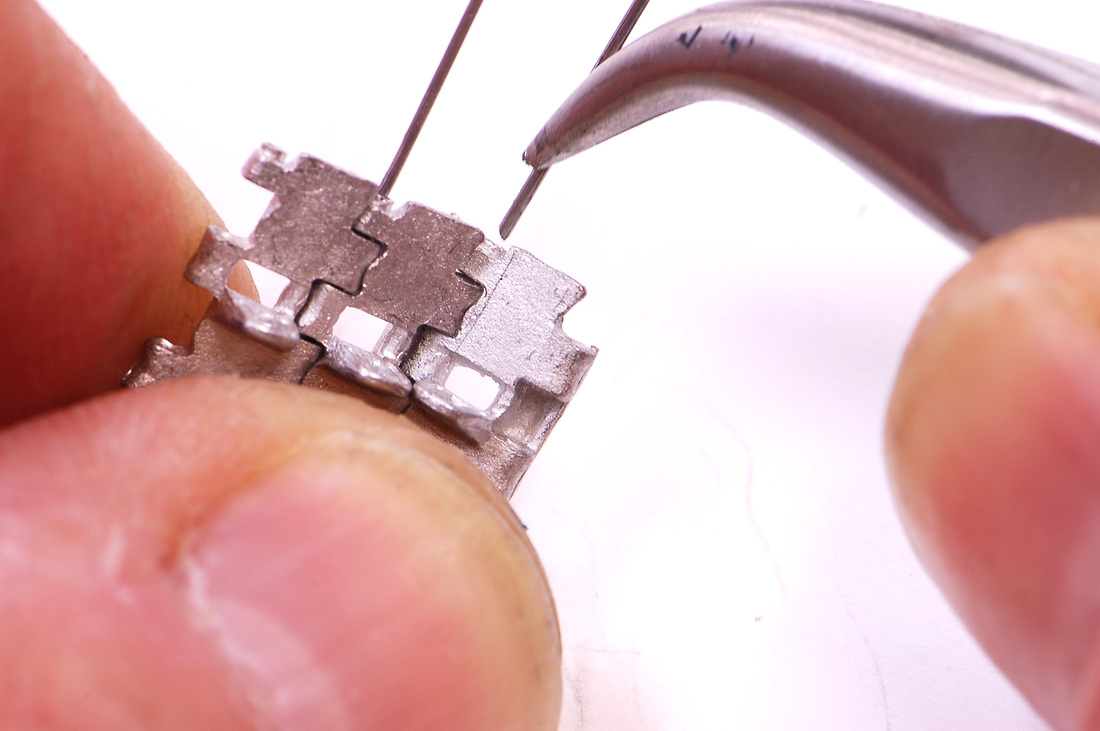
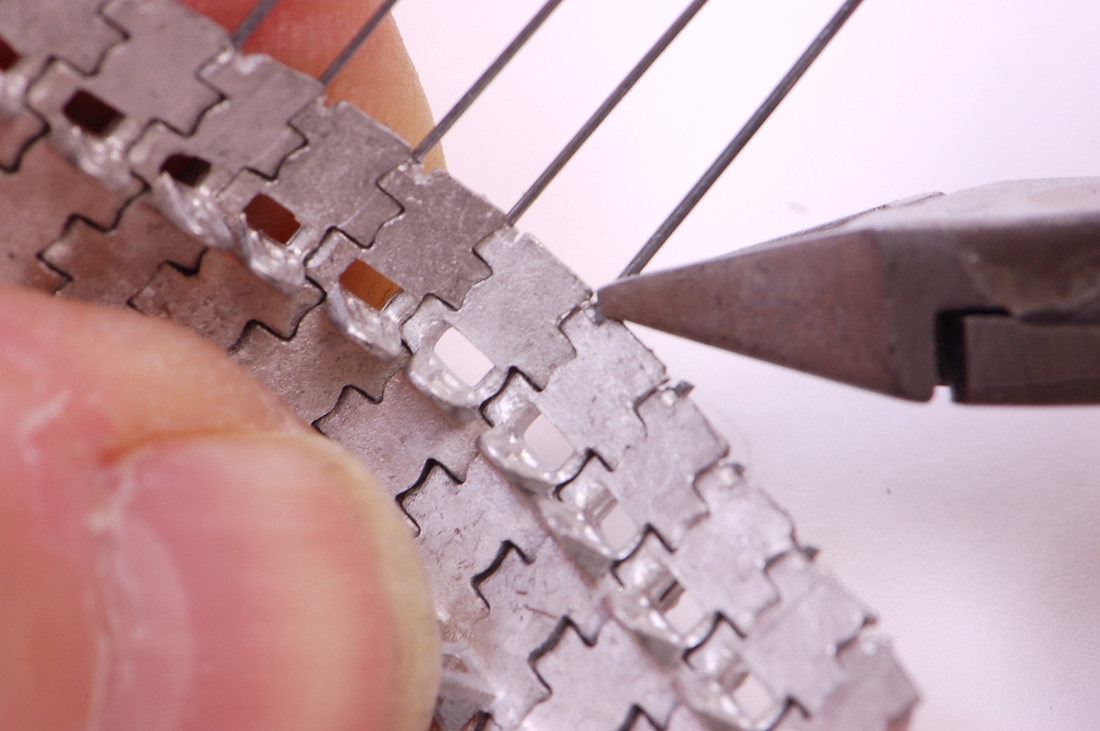
To start the process I pick up a couple of links of track and place them together. While holding them together the other hand grabs the Track Wire at almost the end of the wire(about 3mm in from the edge) with the needle nose and I press the wire into the bore to the plier tip.

I then move the pliers back another 3mm to 5mm and push in again. The feed is important as you don't want to be so far away that if there is any resistance in the passing of the wire in the bore that it stops the feeding and bends or buckles the wire. As the wire feeds in you will see it in between the track links giving you a idea how much more to press in.
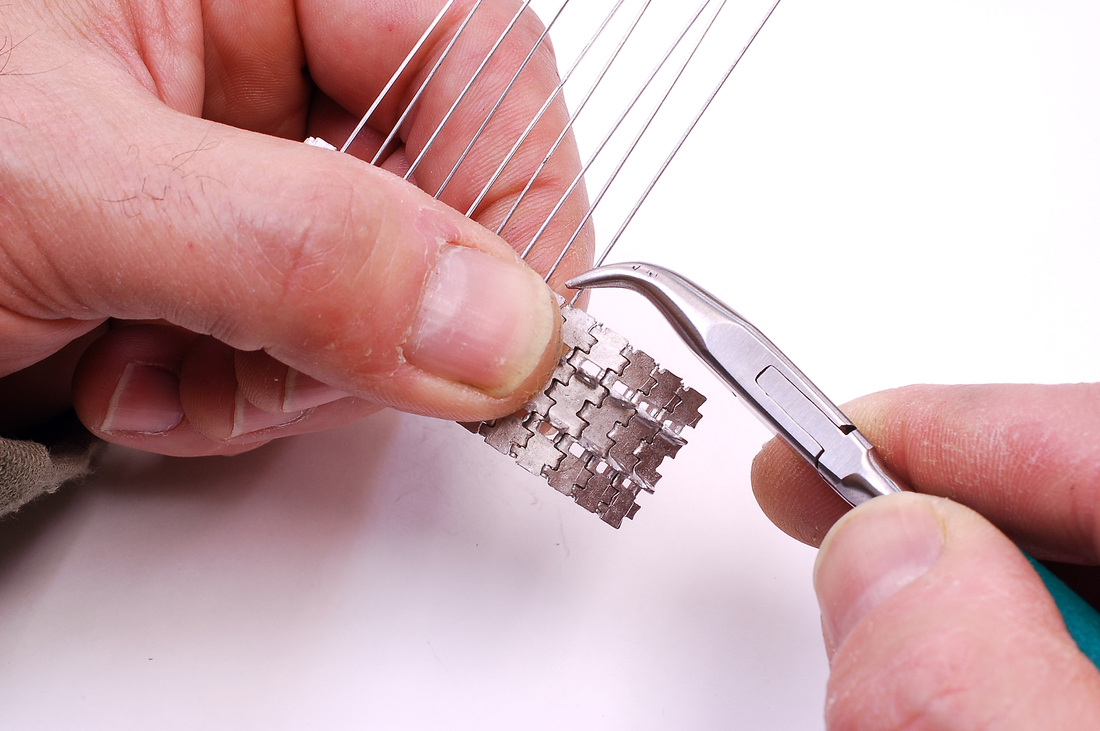
This is the correct way to hold the track run while you are feeding in the wire. I am holding from the top and bottom and this also aids in keeping the track links straight for a good feed.
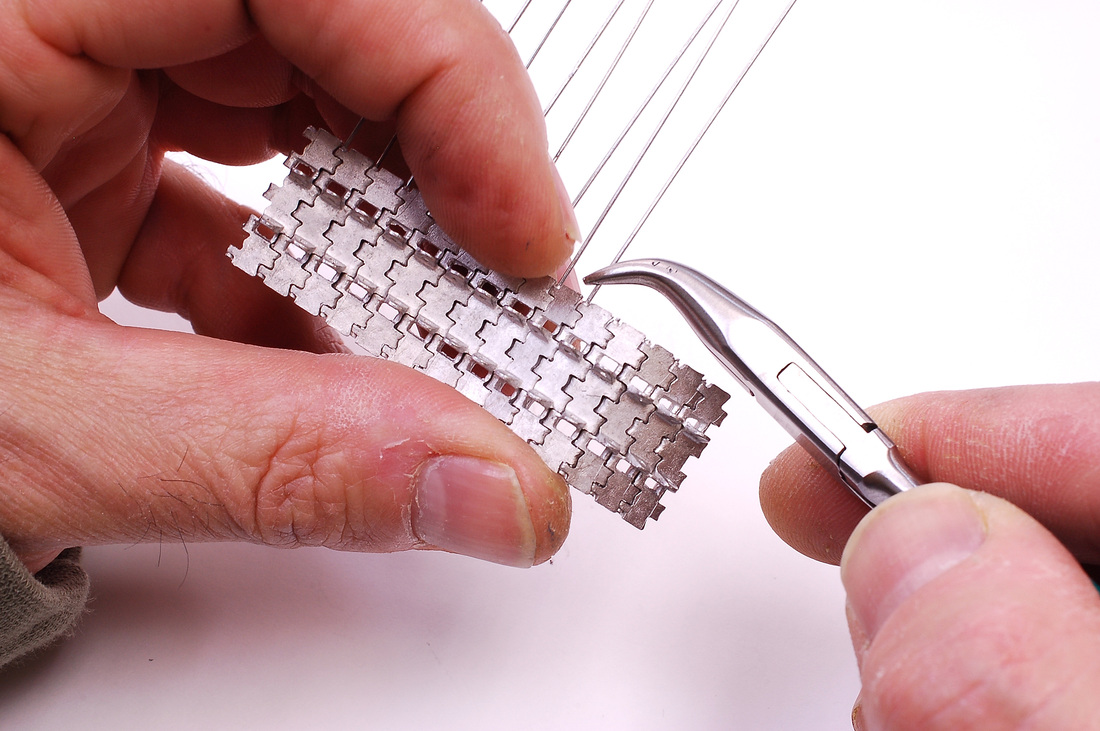
This my friends is not the way to hold the track while feeding wire, unless you fancy a painful finger prick if the wire passes through the end of the link. I speak from experience and my thumb is none to happy about it.
This is the safe way to get the last push of the wire to seat at the end without risk of pricking. You don't need to push very hard as the wire fills the last part of the bore in a way that in effect wedges it in place. This factor alone eliminates the need to add glue to keep the wire in. After feeling how the wire fits in the bore and the pressure required to feed it in things will start to speed up considerably.
To move quickly through the process and to make sense of the quantity of wire supplied and its benefits, this is how I lay it out. the 50 pieces of wire are laid out on the edge of the table with a little overhang. I can then easily pick up fresh wire as I add another link. I pick up the wire as described before and feed it in, this step is repeated until I deplete the the 50 pieces of Track Wire.
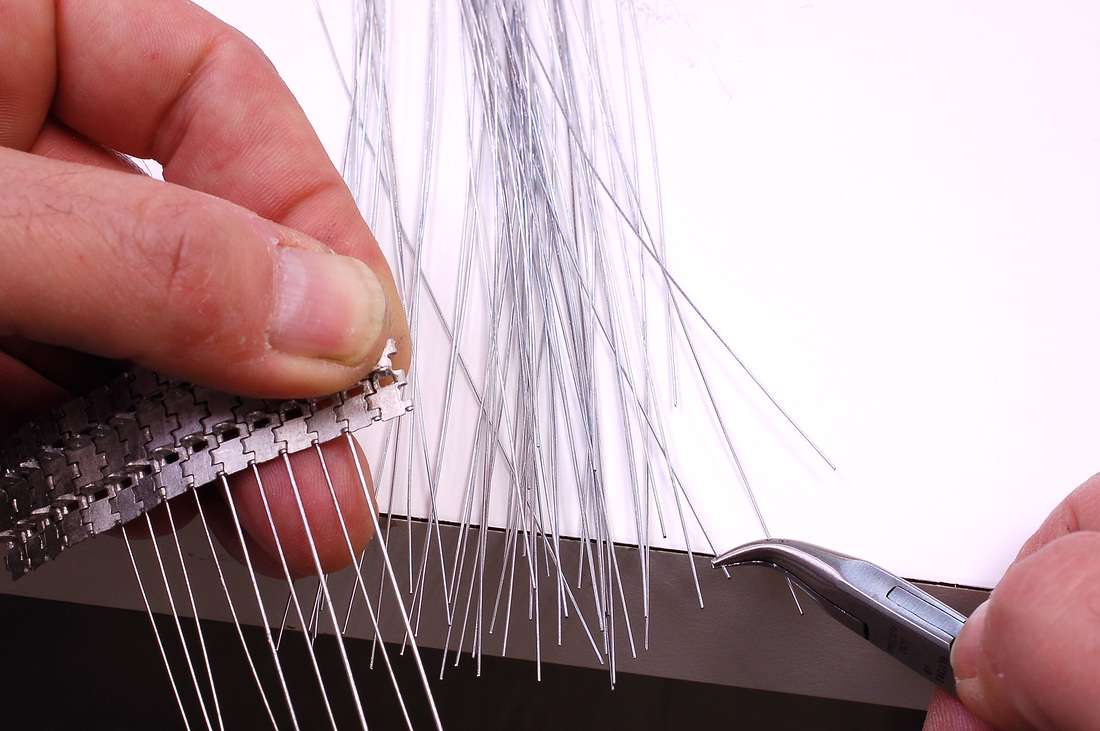
A run of 50 links is now ready to be trimmed of the excess wire. As I cut the wire I form a new pile on the table that will start the process over again. At this point my track run is more than 50% done, and depending on the final lenght there might be only 20 to 40 links left.
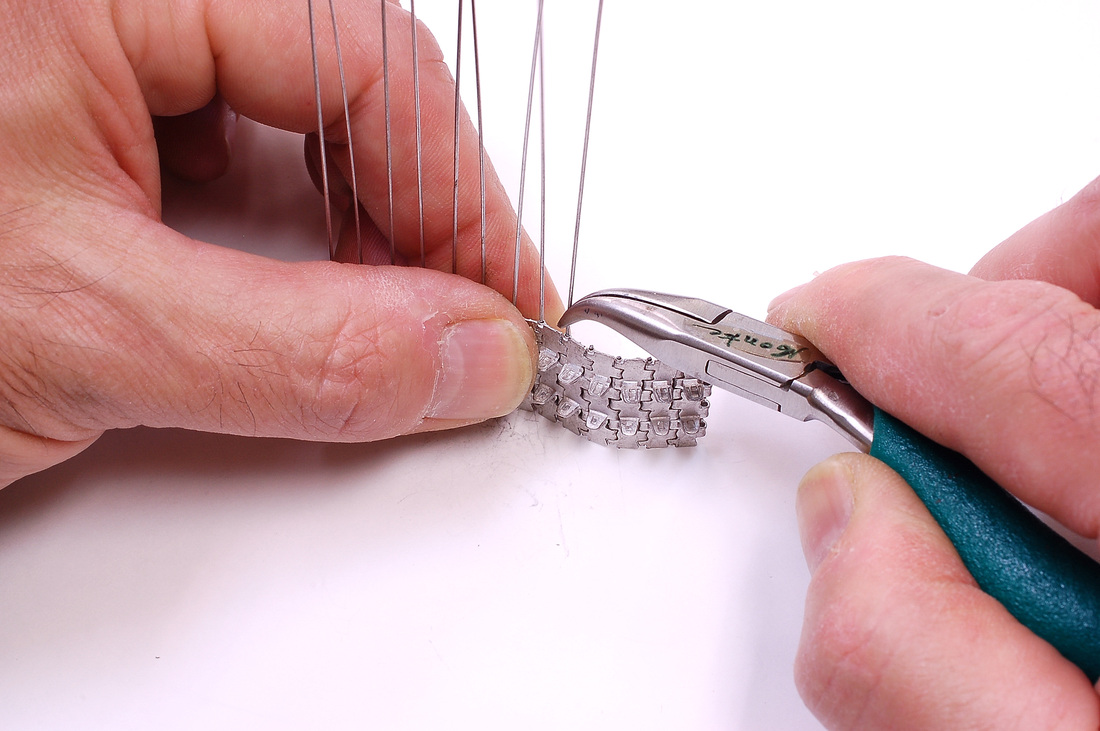
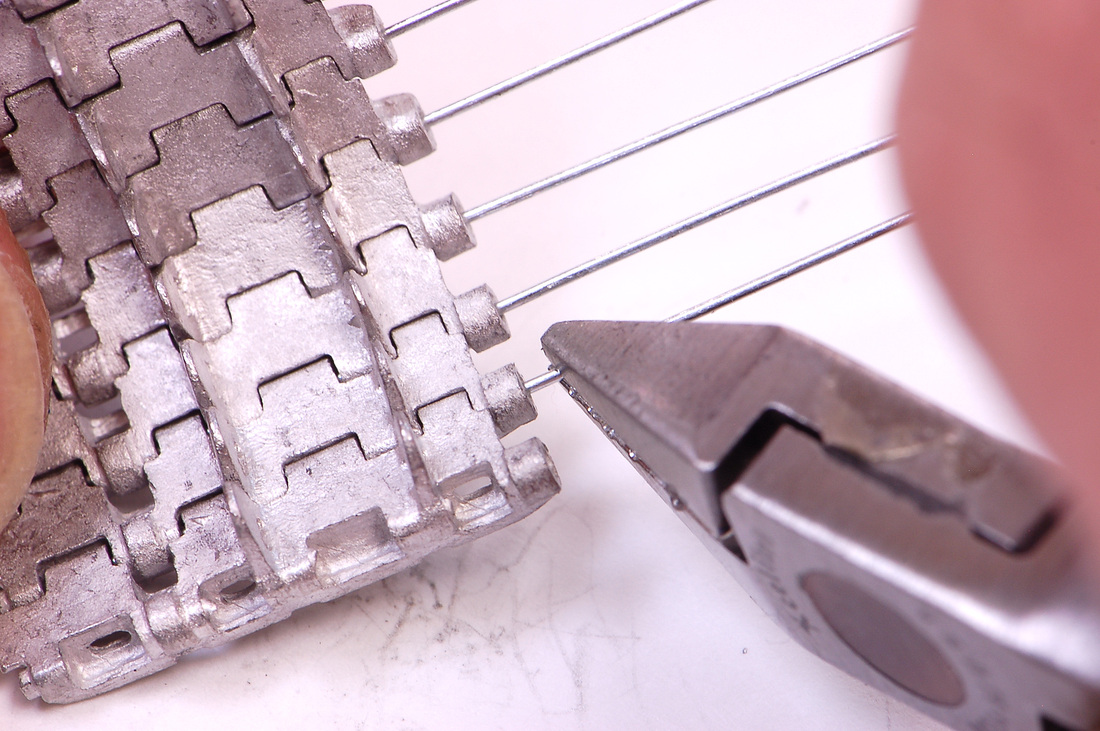
To cut the wire I butt the cutter tip right into where the bolt head would be and snip the wire. Be sure not to cut into the adjacent track link and damage it. Also when cutting the wire I aim it towards the table and my pile of clippings. The wire will shoot in whatever direction you point it , so for sure aim away from your face!!!
For tracks that have a recessed bolt head like these Tiger1 tracks, I pull out the wire about 2 to 3mm from where it bottomed out and cut it there.
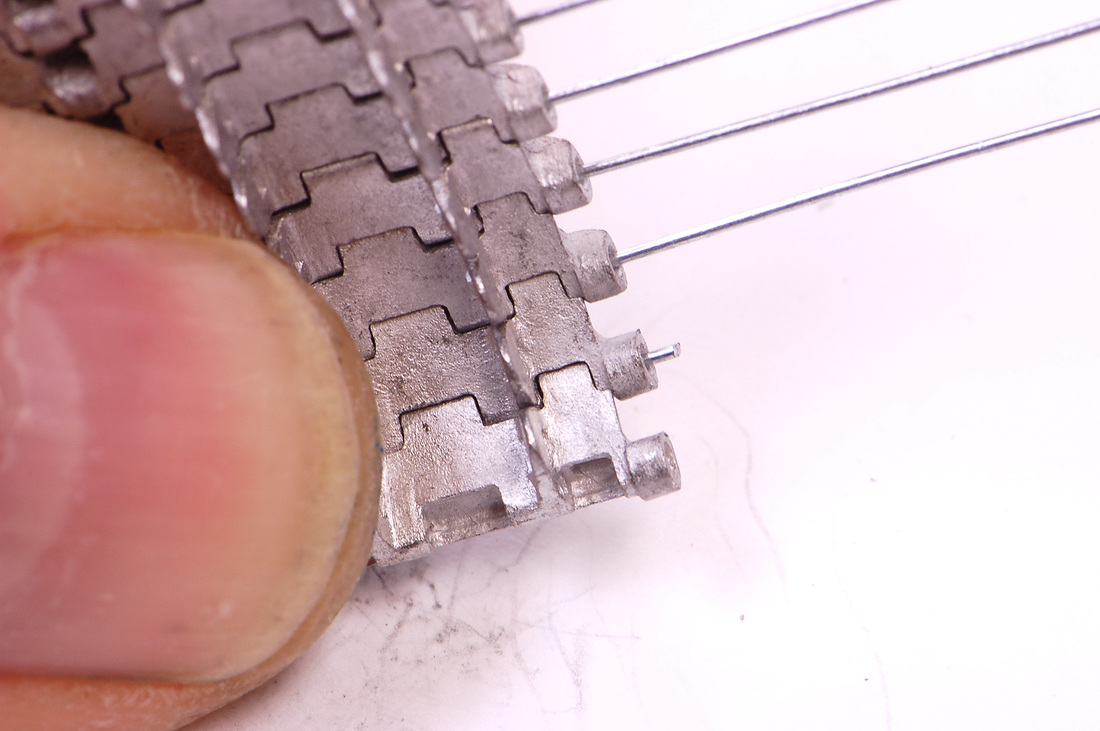
This leaves a little nub sticking out that can be pushed back in the bore...
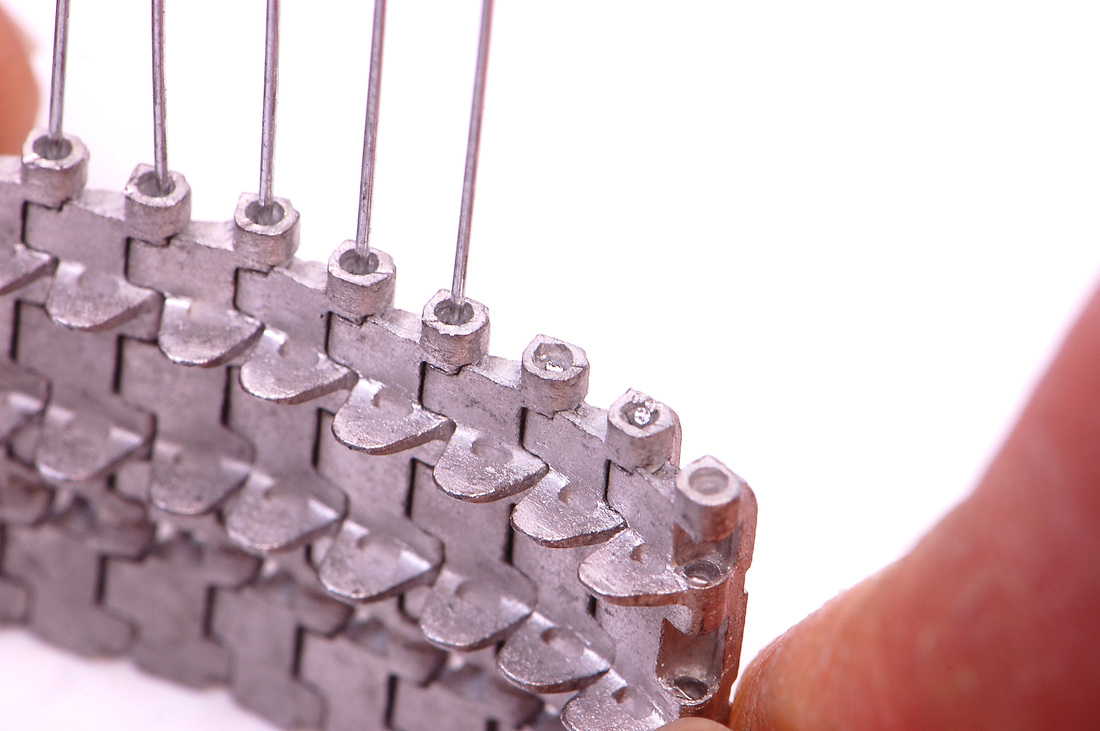
leaving the wire recessed as well. Notice the previous cut was done flush to the outside edge. It is not as clean but keep in mind if you ever need to remove any links having a little nub to grab aids tremendously. I also leave about 5mm of wire sticking out of say the last 6 links in case I need to shorten the run once the tracks are on the model. When I have my final length and tension set I then flush cut those remaining links. On final assembly or while mocking up I always leave one master wire link on the inside of the run as my removable pin. This helps even after the model is completed if I need to remove the track runs for any reason. You can also leave a couple as tracks may stretch and a may need to be shortened later.


