For this first edition, I thought it befitting to focus our discussion on the basics of building styrene figure kits with the model kits that changed the face of the hobby forever, the Aurora Monster Models! Although the original 13 kits made their debut 51 years ago, they have stood the test of time and are re-released periodically allowing each new generation of modelers to build and enjoy these timeless classics.
Several figure modelers I know tend to distance themselves from styrene figure kits for the sole reason of the seams that have to be dealt with. I have never really understood this as I have found that the seams are no worse than the ones found on their vinyl and resin cousins. I admit that there are more seams to deal with on a styrene figure but a little patience and elbow grease really goes a long way.
In fact, building styrene monster kits takes very few tools and supplies. You will need liquid cement (Tenax 7R or Tamiya Extra-Thin), modeling putty (Aves Apoxie Sculpt), a hobby knife, sprue cutters, rubber bands or clamps, sandpaper (Testors sanding films), jeweler files, and fine steel wool (use 000 grade or finer).
For painting kits, various sizes of flat and round sable brushes and a good selection of acrylic paints is really all you need. I prefer acrylics over enamels or lacquers because they are very easy to use and cleanup with soap and water or rubbing alcohol. You can utilize an airbrush to paint your kits but that is as they say, a subject and art form all its own.
The Wolf Man: Pure of Heart “Even a man who is pure of heart and says his prayers by night, may become a wolf when the wolfbane blooms and the autumn moon is bright…”
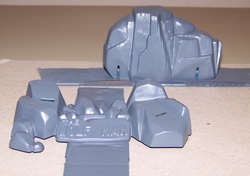
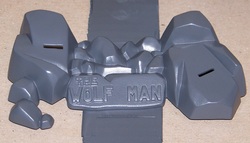
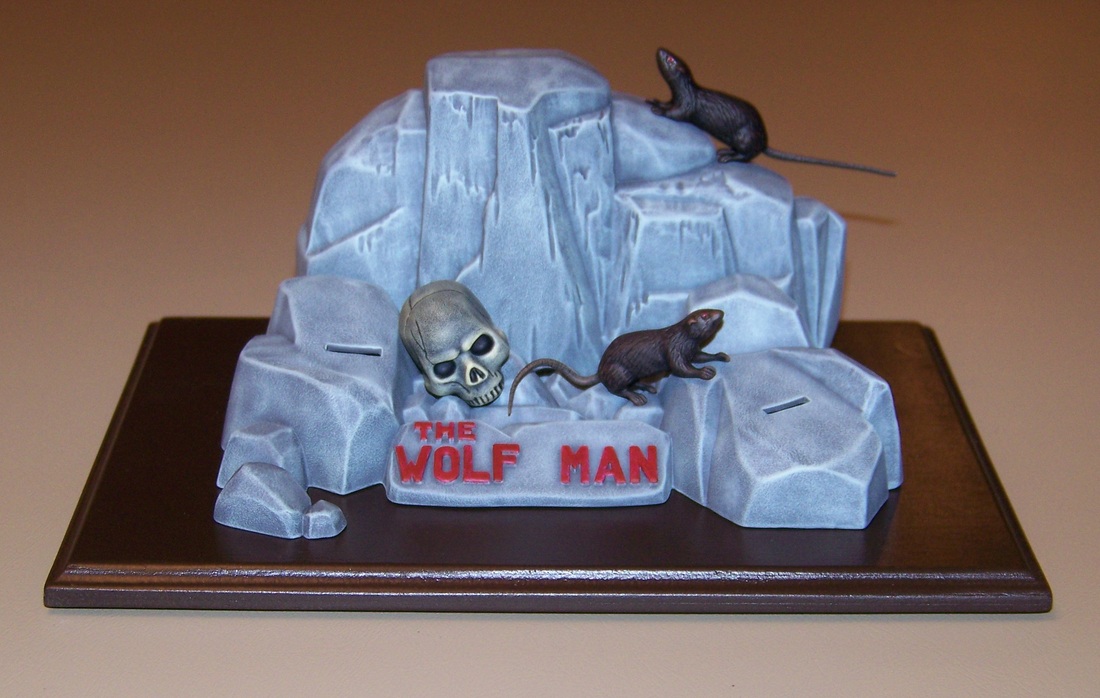
After spending a little time reviewing the kit instructions and parts I devised a plan and began construction with the base by cleaning up the attachment points and removing any flash. I like starting with the base for two reasons: 1) it helps me get focused on the project by getting me into my modeling “happy place” and 2) a finished base provides a backdrop that helps when choosing the colors for the figure itself.
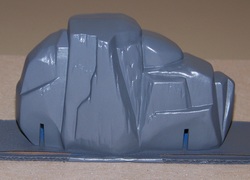
Start by cementing the two large rock halves together. Hold the two halves together with just a slight gap between the parts and brush liquid cement along the joint. Wait about 30 seconds then apply firm pressure. You know you have a good bond when the melted plastic oozes out of the joint. This helps fill the seam between the parts and reduces the amount of putty work needed later on. Keep the parts secure by wrapping them with rubber bands and set them aside for about four hours. Once the cement is dry, scrape down the joint with a hobby knife. Sand the seam using progressively finer grades of sandpaper (I start with 320 and work my way down to 800) until you have a nice uniform surface that follows the kits sculpt. To help further remove the sanding scratches and any minor surface imperfections use fine steel wool to gently polish the surface of the parts. Since I had plans to customize my kit a little, I filled the holes where both rats feet and the skull attach with Aves. You don’t have to do this. Let artistic license be your guide here. After all, it’s your creation. Once the putty work is finished, wash the parts in warm soapy water and allow to air dry. Now on to the painting.
